No matter which plan you have with AIP you get access to our library of plugins. They have a wide range of uses from improving performance to helping you connect to a 3rd party service. The way you go about activating these plugins is exactly the same, so the knowledge you get from this article can be applied to all plugins except a few.
The process for activating a plugin is very quick and easy, it can be done in 2 steps.
Step 1: Navigate to Plugin Library
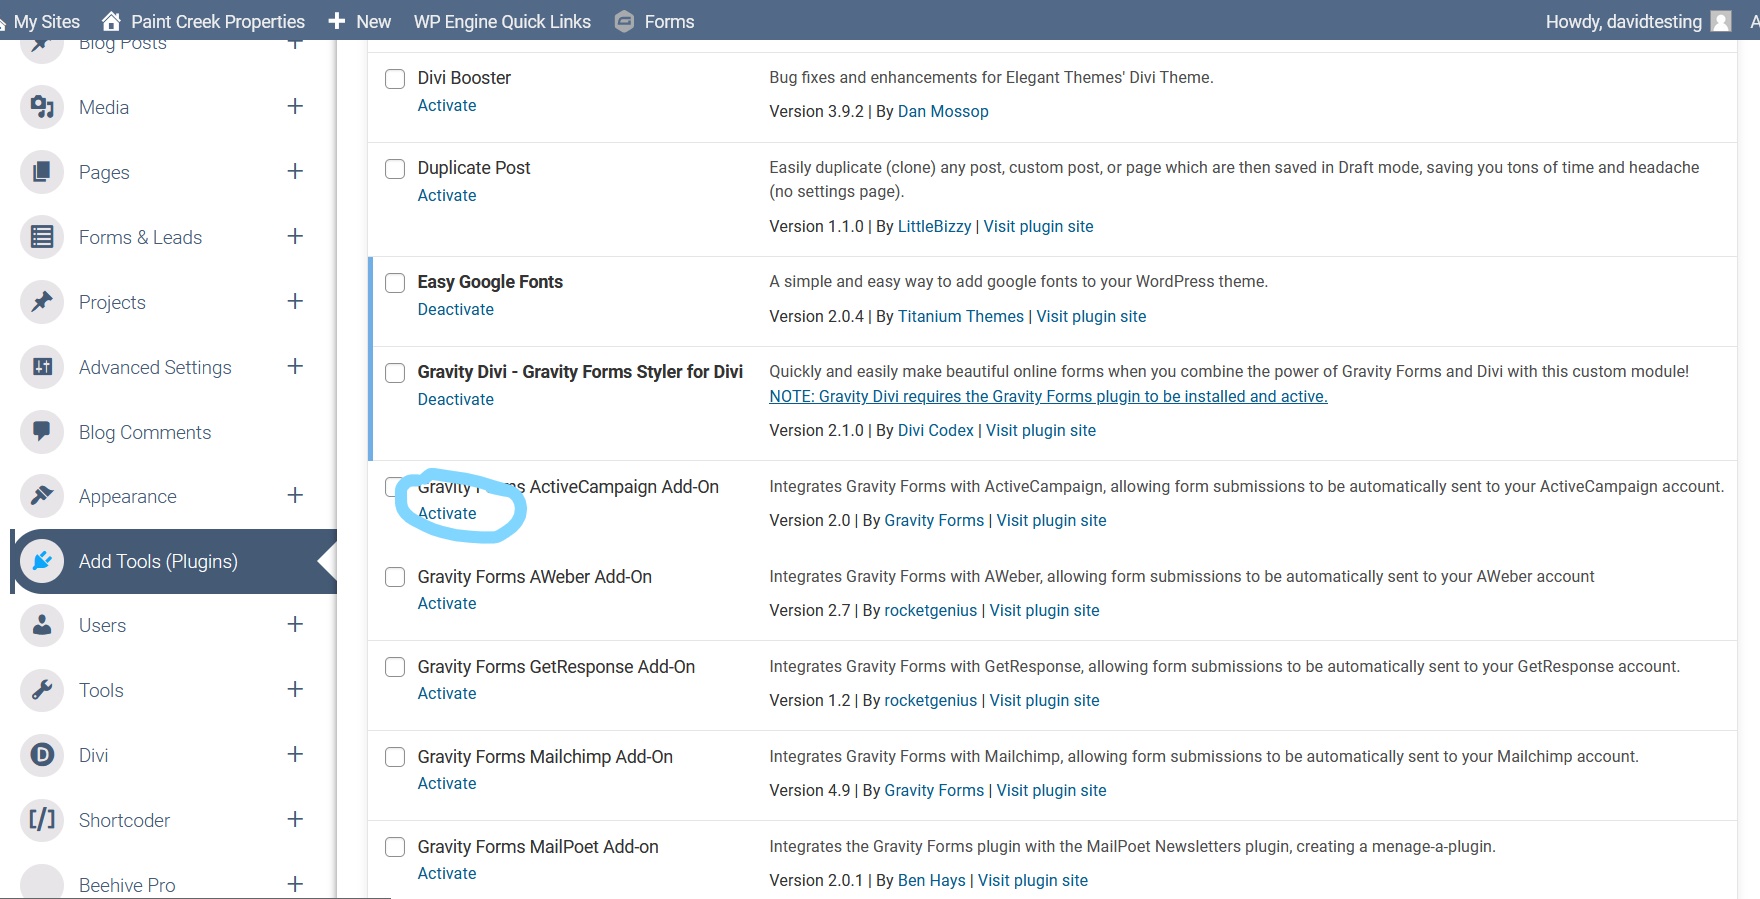
First, you will need to be logged into the dashboard of your website. About halfway down the left menu you will find ‘Add Tools (Plugins)’. Click ‘Add Tools (Plugins)’ and then ‘Installed Plugins’, this will take you to the Plugin library.

Step 2: Find And Activate The Plugin
Once the plugins library has loaded it’s simply a matter of finding the plugin you need and clicking ‘Activate’. To find a plugin more easily you can use the search box near the top if you know the name of the plgin.
NOTE: By default the the plugins are in alphabetical order.
Once the plugin has been activated you will see a new menu item appear in the left menu in your dashboard corresponding with the newly activated plugin. If you can’t find it in the menu look under ‘Advanced Settings’ or ‘Tools’ as some plugins will be added as a submenu item under one of these 2 categories.
IMPORTANT: While there are a number of plugins available not all will be useful to you. It is better not to have plugins activated if they aren’t needed. In some cases they can slow down the site or potentially cause other issues. Only activate a plugin if you know you need it.
Deactivating a Plugin
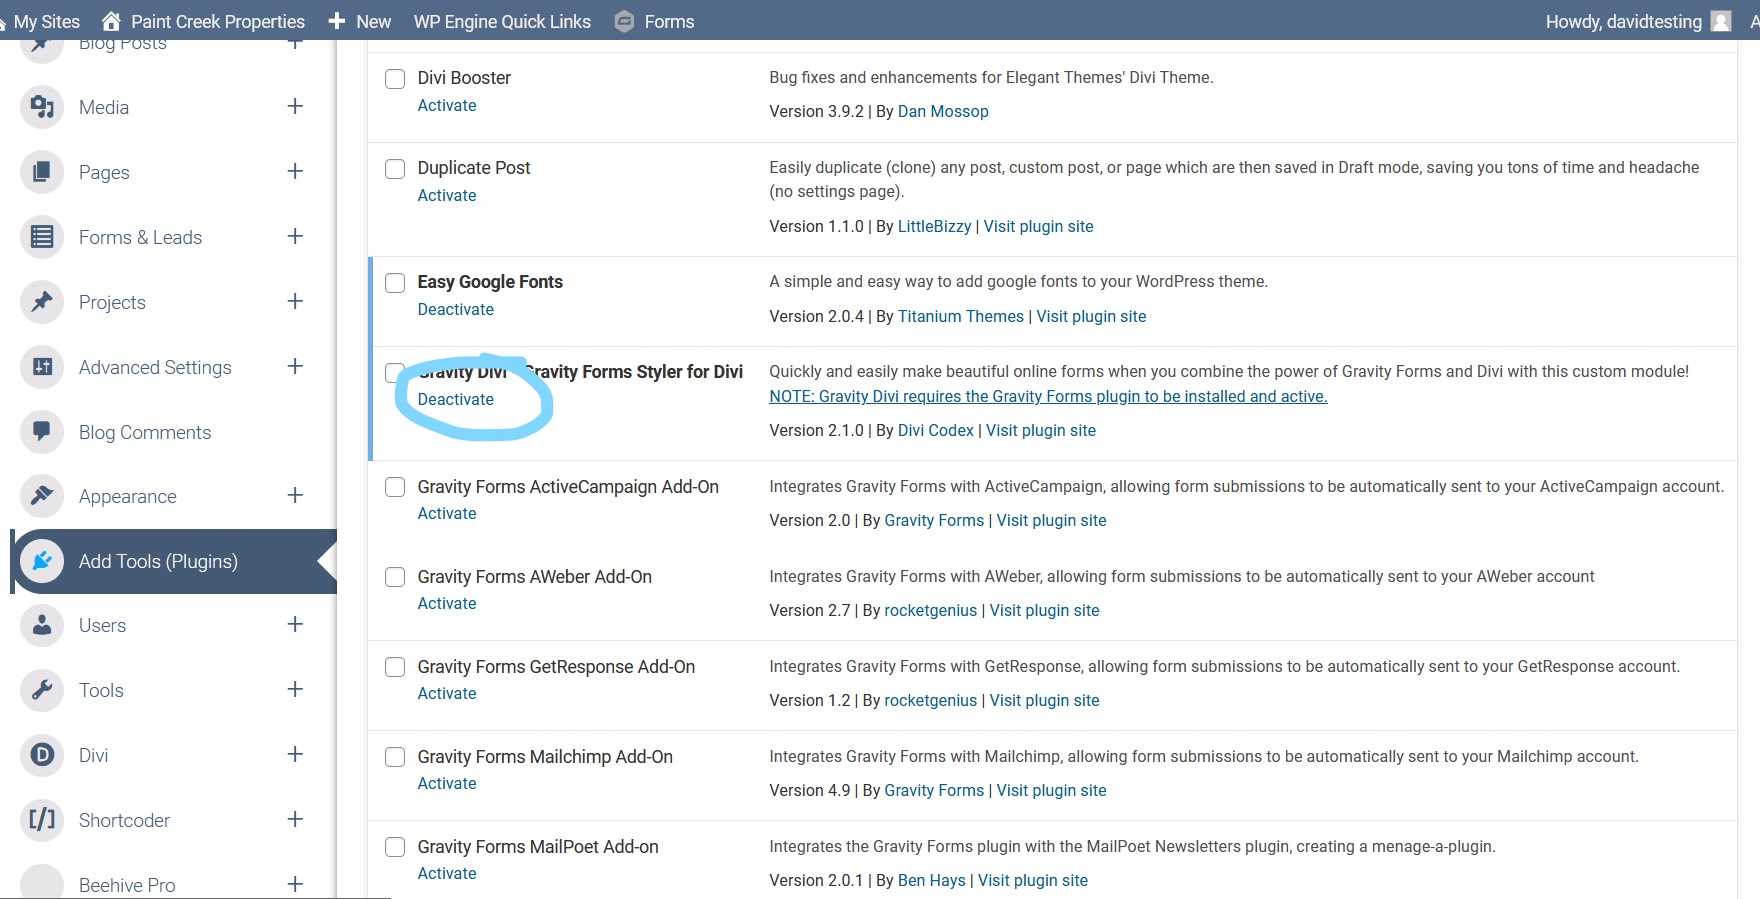
On the other hand, if there is a plugin you no longer need to use you can deactivate unnecessary plugins. To deactivate a plugin, follow the steps mentioned above but instead of clicking ‘Activate’ you will click ‘Deactivate’.

