
Optimizing images can significantly improve loading times, reduce bandwidth usage, and improve the overall user experience. When images are properly optimized, they load quickly and look great, which can keep visitors on the site for longer and increase the chances of them returning in the future. Additionally, optimized images can improve search engine optimization (SEO) by reducing loading times and helping to improve your site’s ranking in search engine results. Thus, image optimization is a crucial aspect of website design that can have a big impact on user engagement and website performance.
This tutorial will walk you through some steps that it’s going to take in order to optimize your images using the service offered by Cloudinary.
Step 1: Have an account in “Cloudinary.com”.
To get started with image optimization, you should first have an account in “Cloudinary.com”. To register/sign up your account on Cloudinary, go to https://cloudinary.com/users/register_free and follow the instructions.

Step 2: Login with the credentials you used to Sign Up
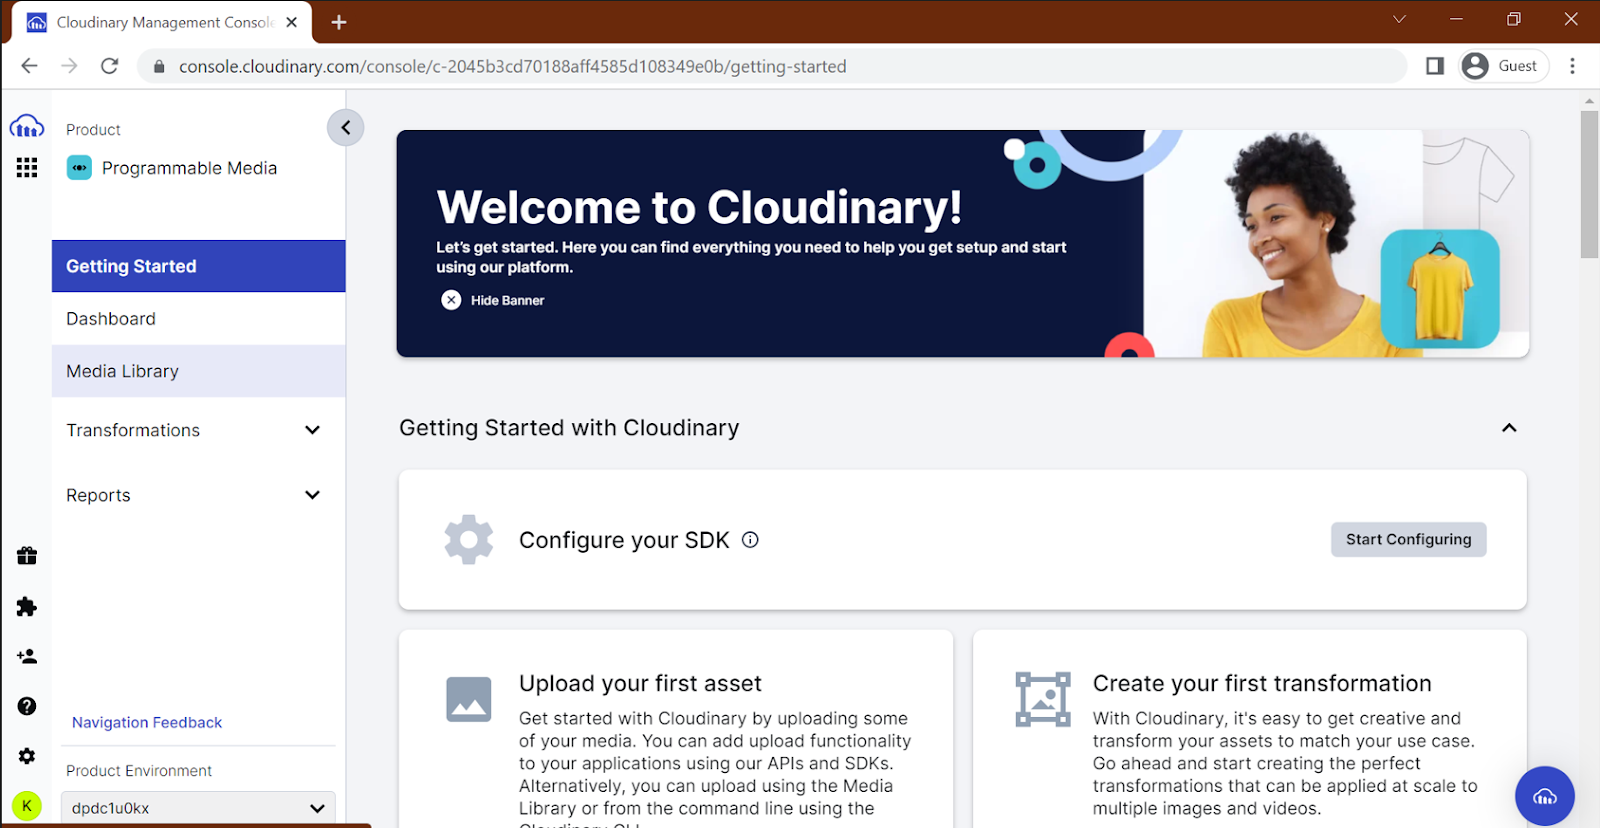
Step 3: Once you are successfully logged in, you should be able to see the Cloudinary dashboard as shown in the screen below:
Desktop version

Tablet version
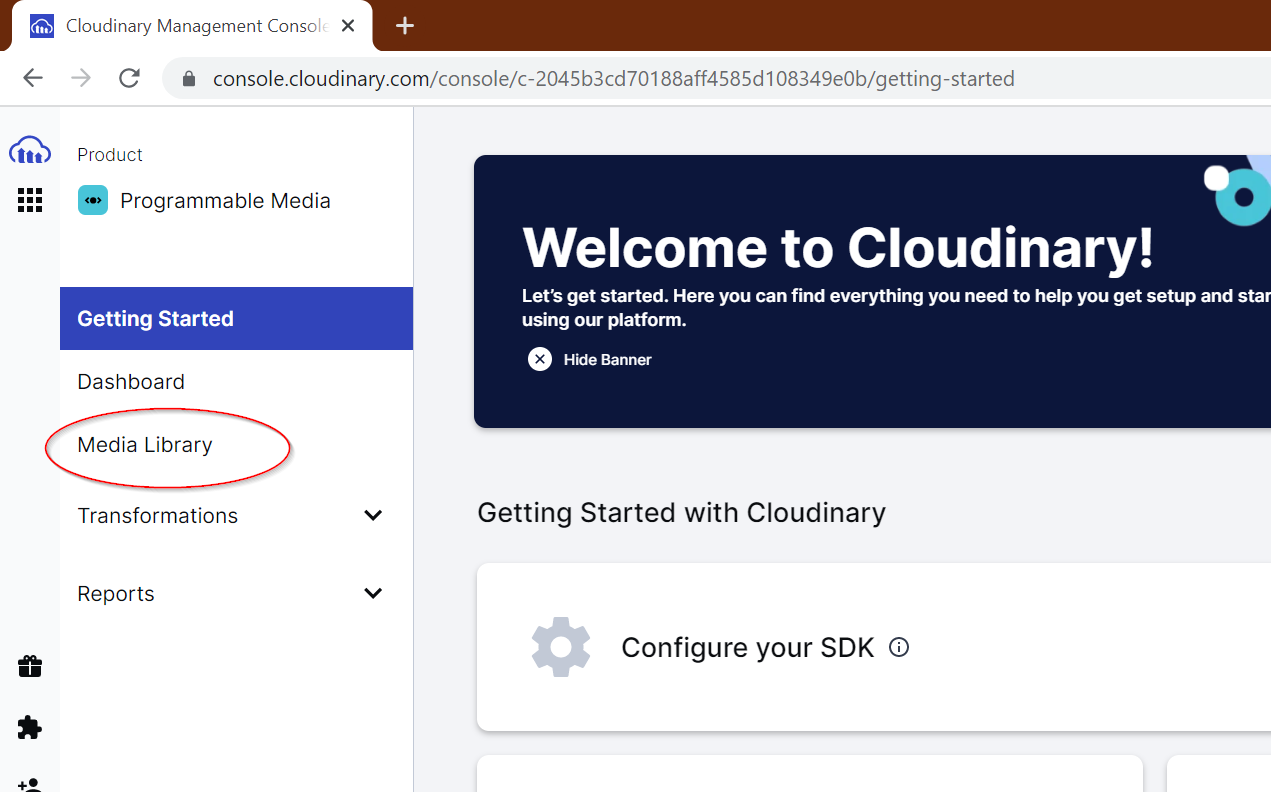
Step 4: On the navigation bar, you can see a “Media library” tab. Click on it.
Desktop version

Tablet version
Note: This step is for tablet version only
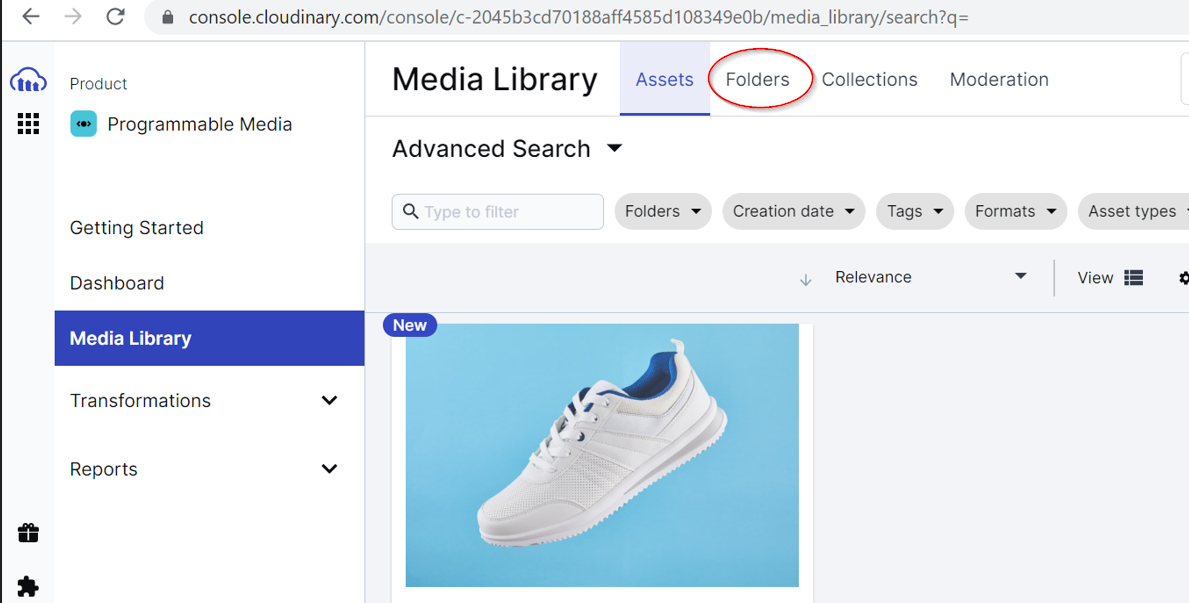
Step 5: On the media library page there is a tab bar with Assets, Folders, Collections and Moderation tabs. Go to the “Folders” tab.
Step 6: Creating a folder
You will be driven to a page where you will see an add folder icon.
Desktop version

Tablet version
s

Click on the icon, you will be asked to enter the folder name

Enter the folder name of your choice.
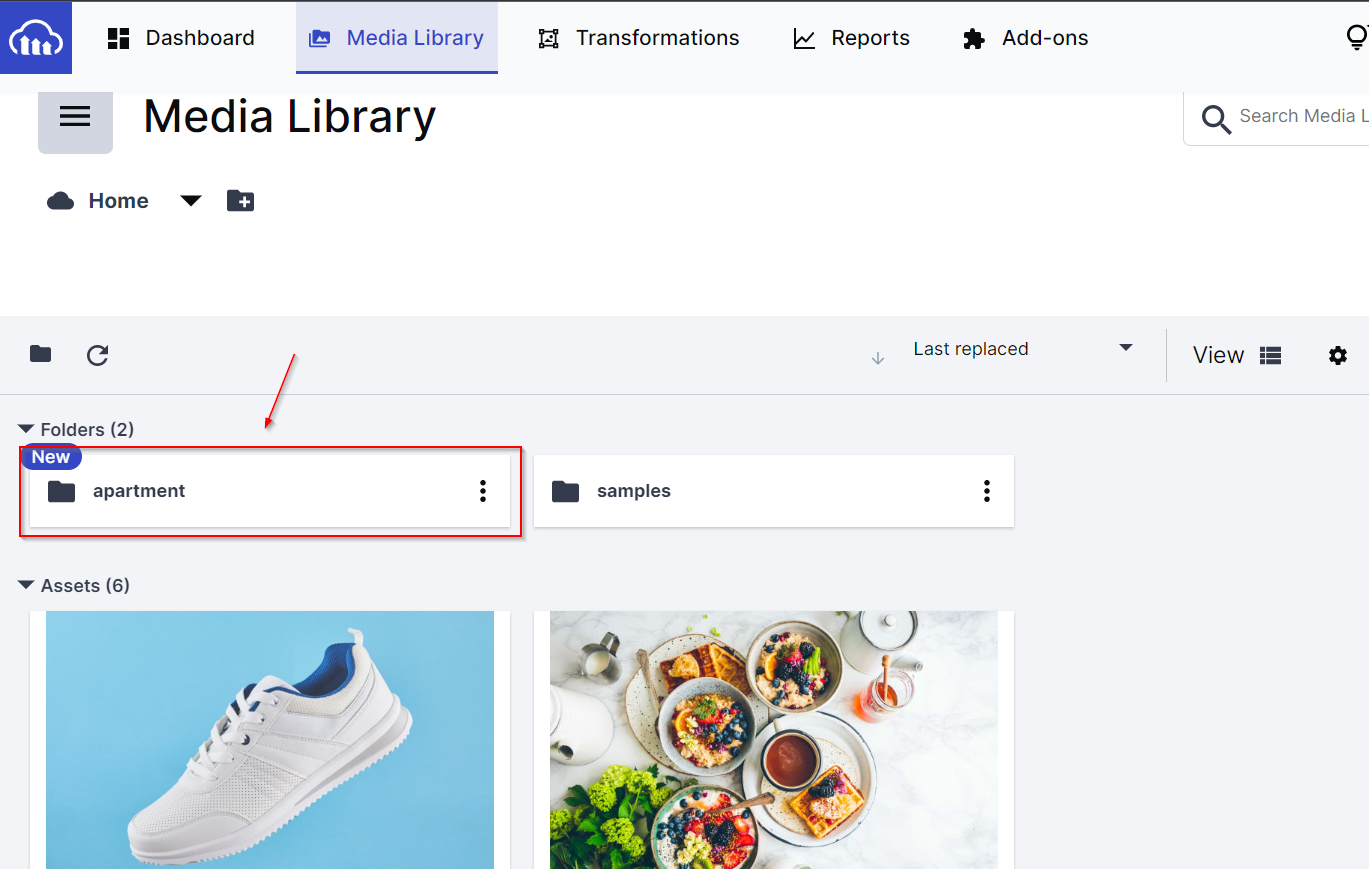
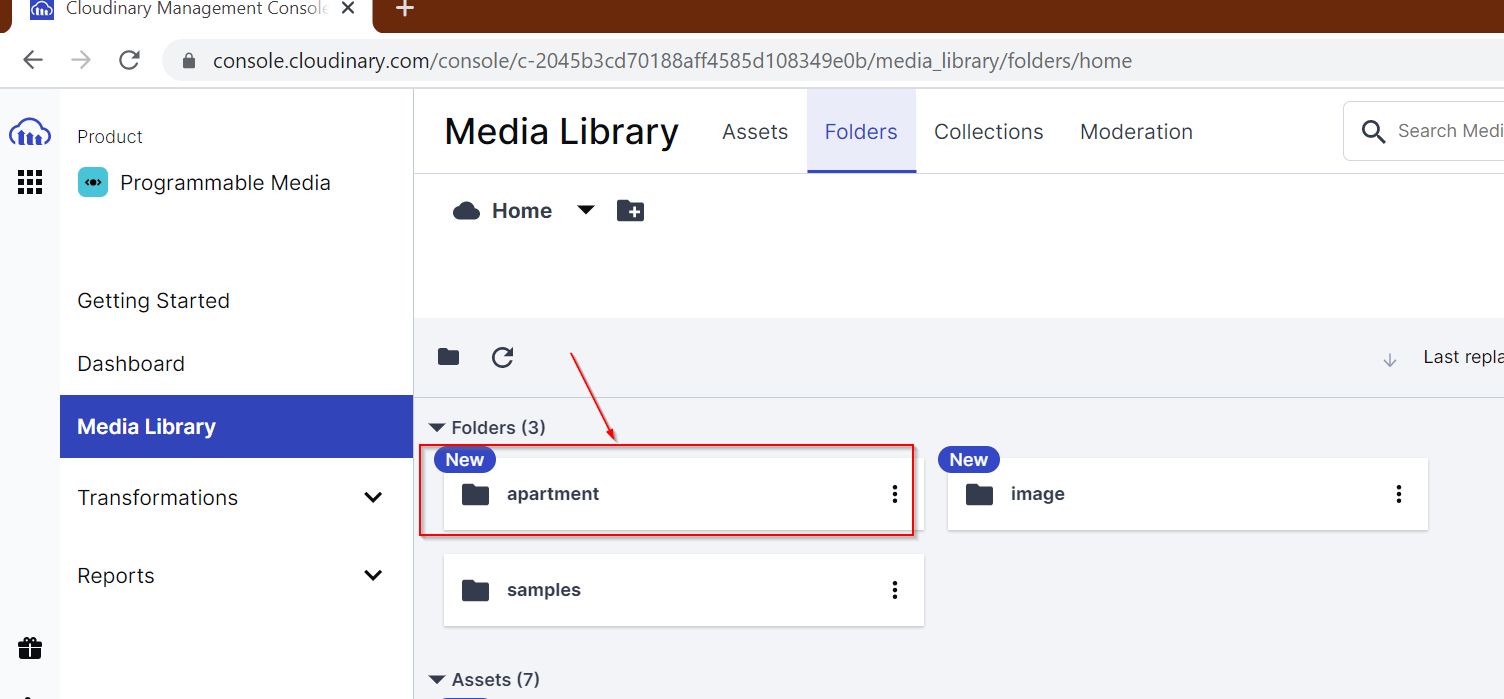
Let’s say the folder “apartment” is created.
Your newly created folder will appear as in the screen below.
Desktop Version:
Tablet version
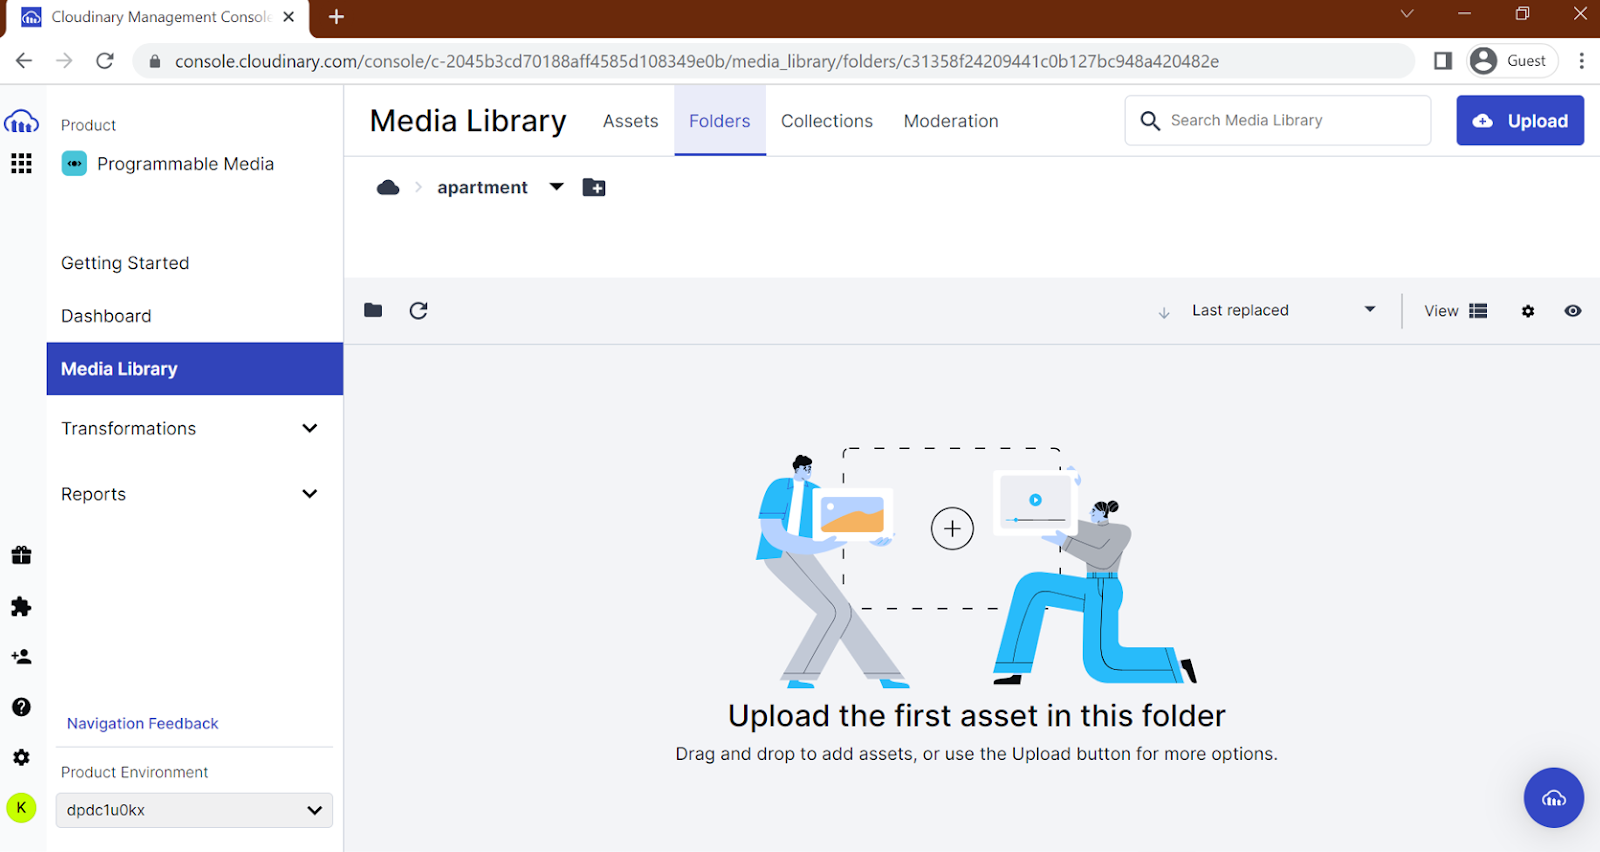
Click on the folder to go inside it. You will see something like this:
Desktop version

Tablet version
Step 7: Uploading the image
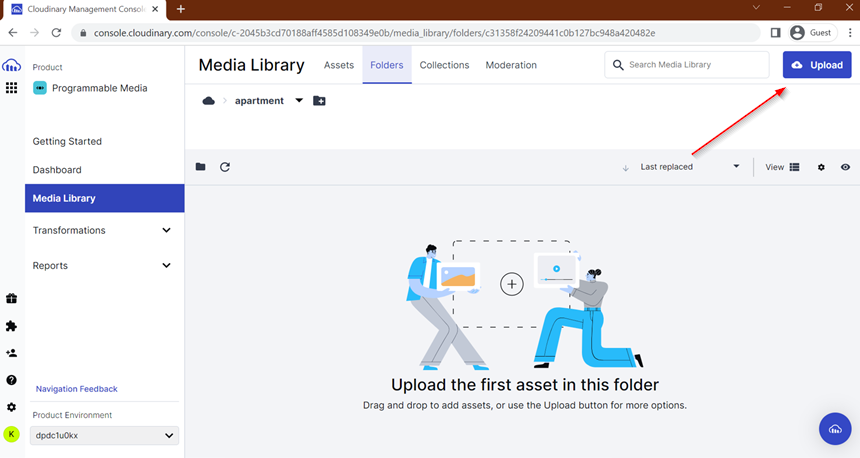
Click on the “Upload” button inside the folder you have created earlier.
Desktop version

Tablet version
Browse the image from your PC and Upload

Step 8: Edit and Download the image
Now that you have uploaded the image, you can move further towards optimizing it by double clicking on the image.
Desktop version

Tablet version

You will see the following screen
Note: Upcoming screens are same for both the desktop and the tablet version

There are two different features available to edit the image:
- Transformation Presets
- Resize and Crop
- Using Transformation Presets
At the bottom, there are different transformation presets such as Banner(tall), Banner(wide), Circle, Sharpened, Square and so on. You can use those presets as per your requirements.
For instance, I have used the sharpened feature as shown in the screen below:

Once you are done with editing, you can click on the download icon as shown in the screen

This will automatically download the optimized image to your PC.
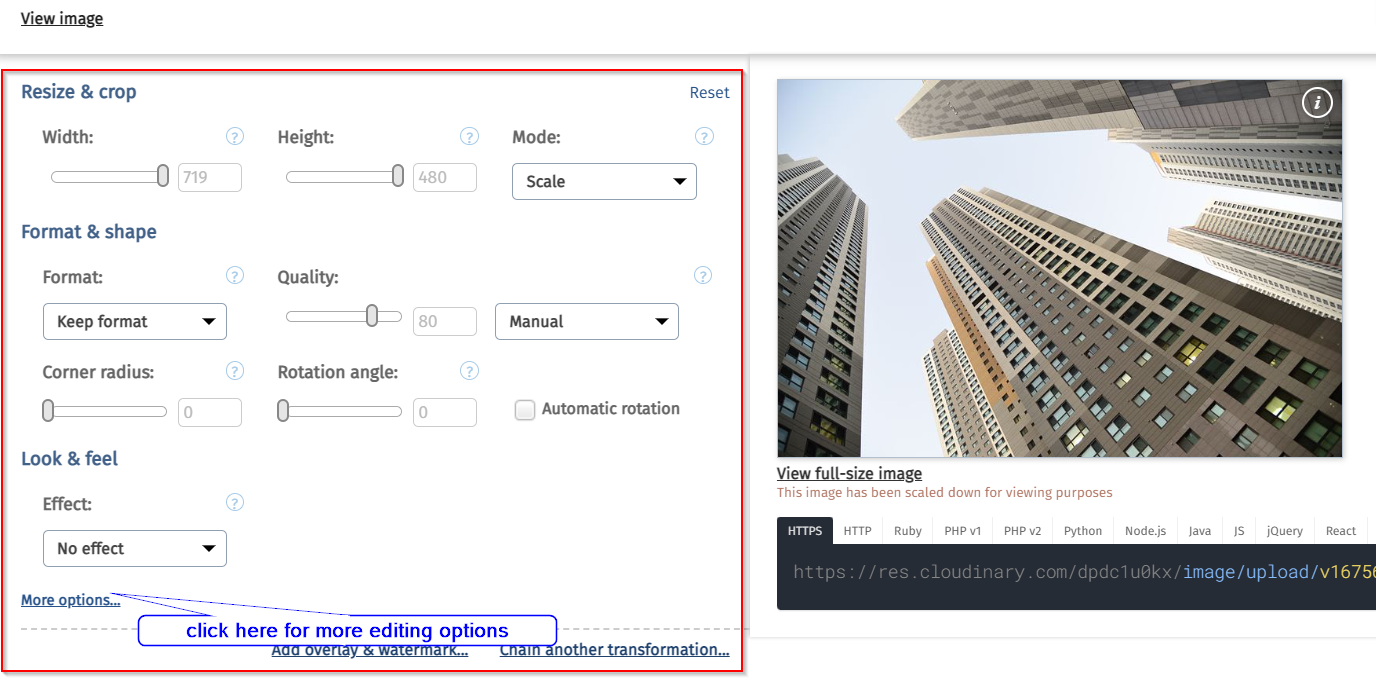
- Resize and Crop
Click on the edit icon as shown in the screen below

You will see a screen with different editing options that will allow you to resize and crop your image. Use those options to meet your requirements for an optimized image.
For every changes you make using the editing options, you should click on the “Refresh Preview” button appearing on the center of the image that is being edited to be able to see the updates.
After making changes using the editing options. “Refresh Preview” shows up

After clicking the Refresh Preview button, changes are updated.

Once you are done with using the resize and crop feature, you can click the refresh preview button as mentioned earlier before you download the image.
Note: If you miss to refresh, changes you made won’t be updated.
For downloading, you should click on the link that appears under the image you edited as in the screen below:
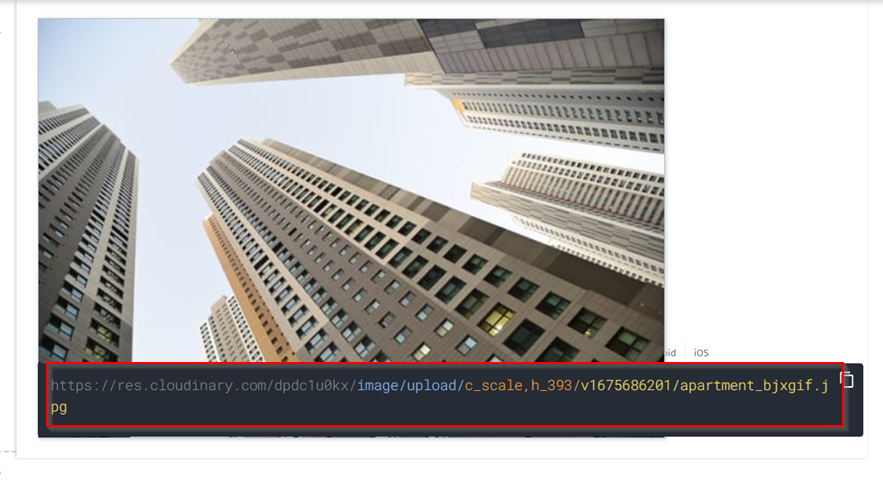
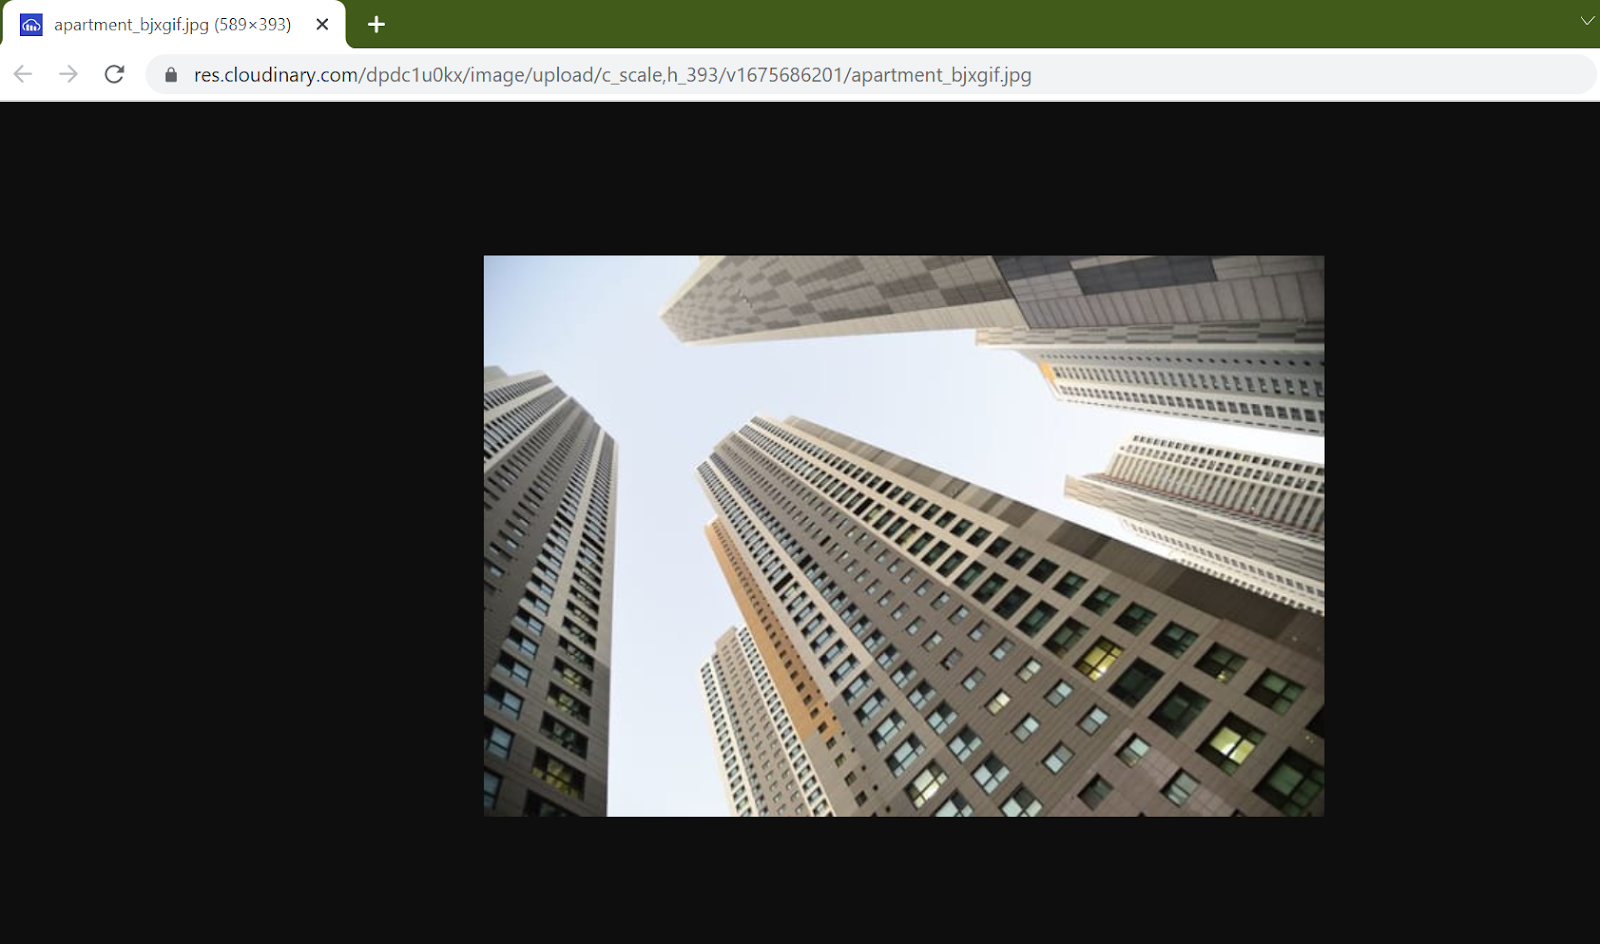
This will drive you to a page in new tab which contains the optimized version of your image.
Right click on the image, which will show the “save image as” option. Click it to save the image in your desired location on your PC.
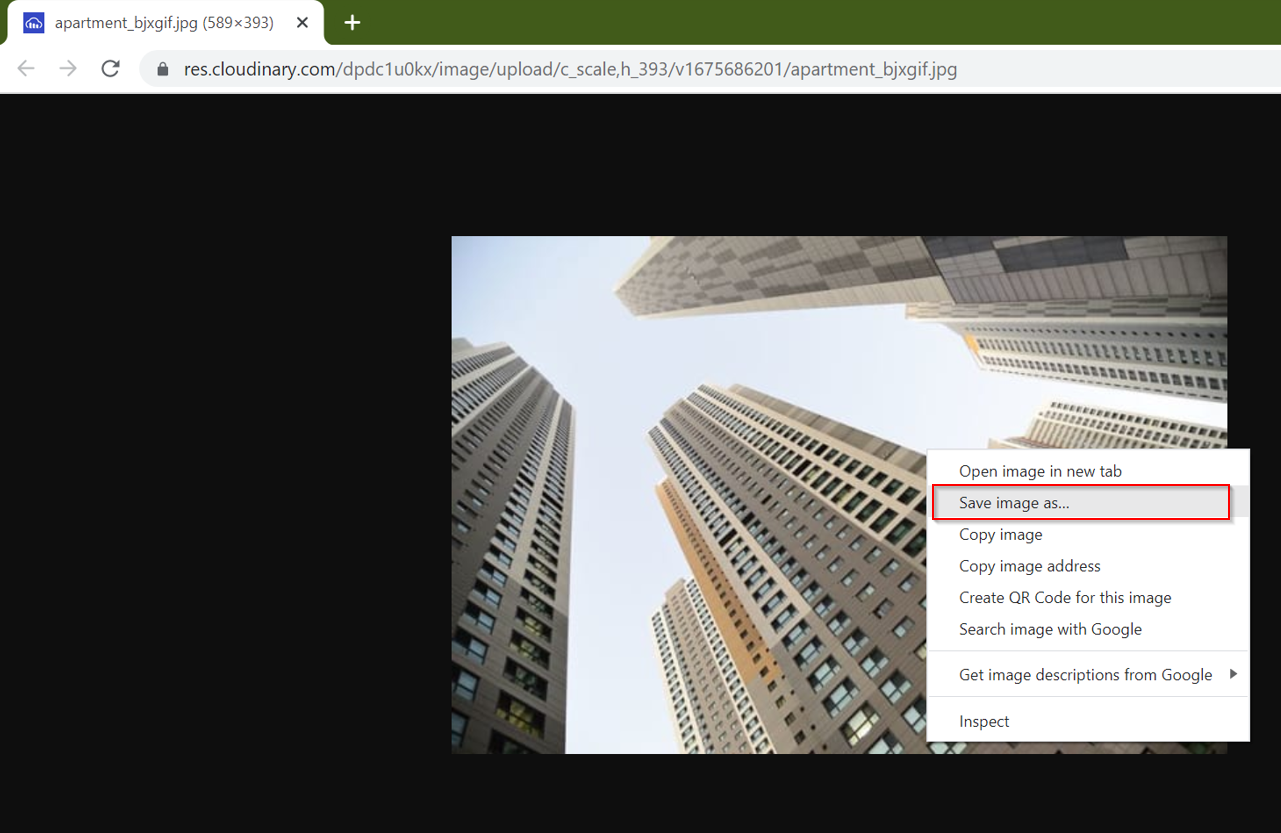
Eventually, you will be able to download your optimized image.