Editing a contact form is a much simpler process than creating a new one. As one of our clients you’re provided with 3 contact forms. In part 2 we’ll show you how you can edit these forms.
Step 1
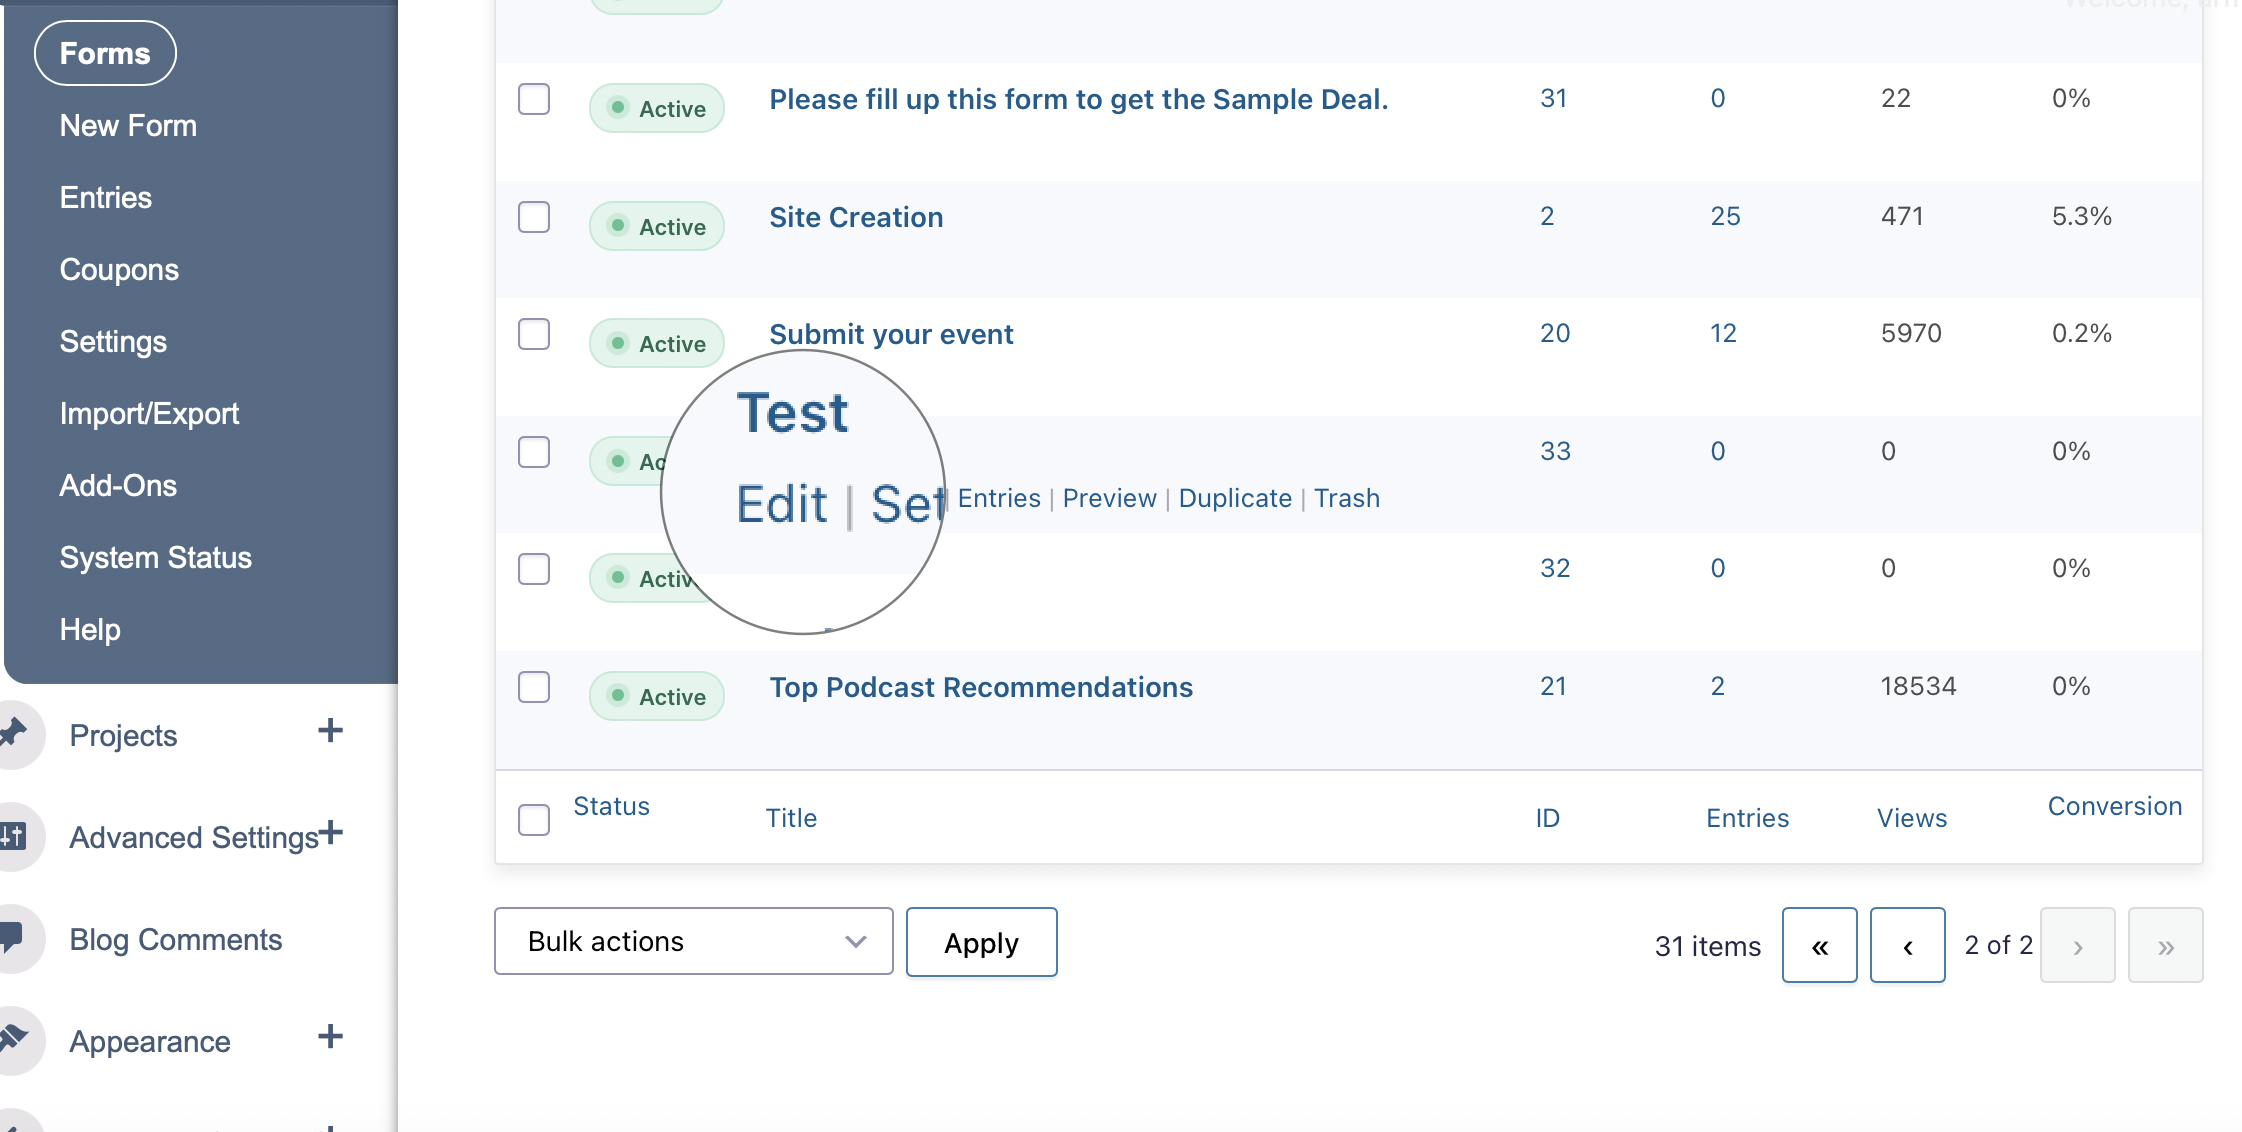
To find where these forms are, HOVER over the ‘Forms & Leads’ menu item in the left hand menu and click on ‘Forms’.

Step 2: Select a Form to Edit
You’ll be redirected to a page that contains a list of previously made forms. HOVER over one and click ‘Edit’.

Step 3: Edit Or Add Fields
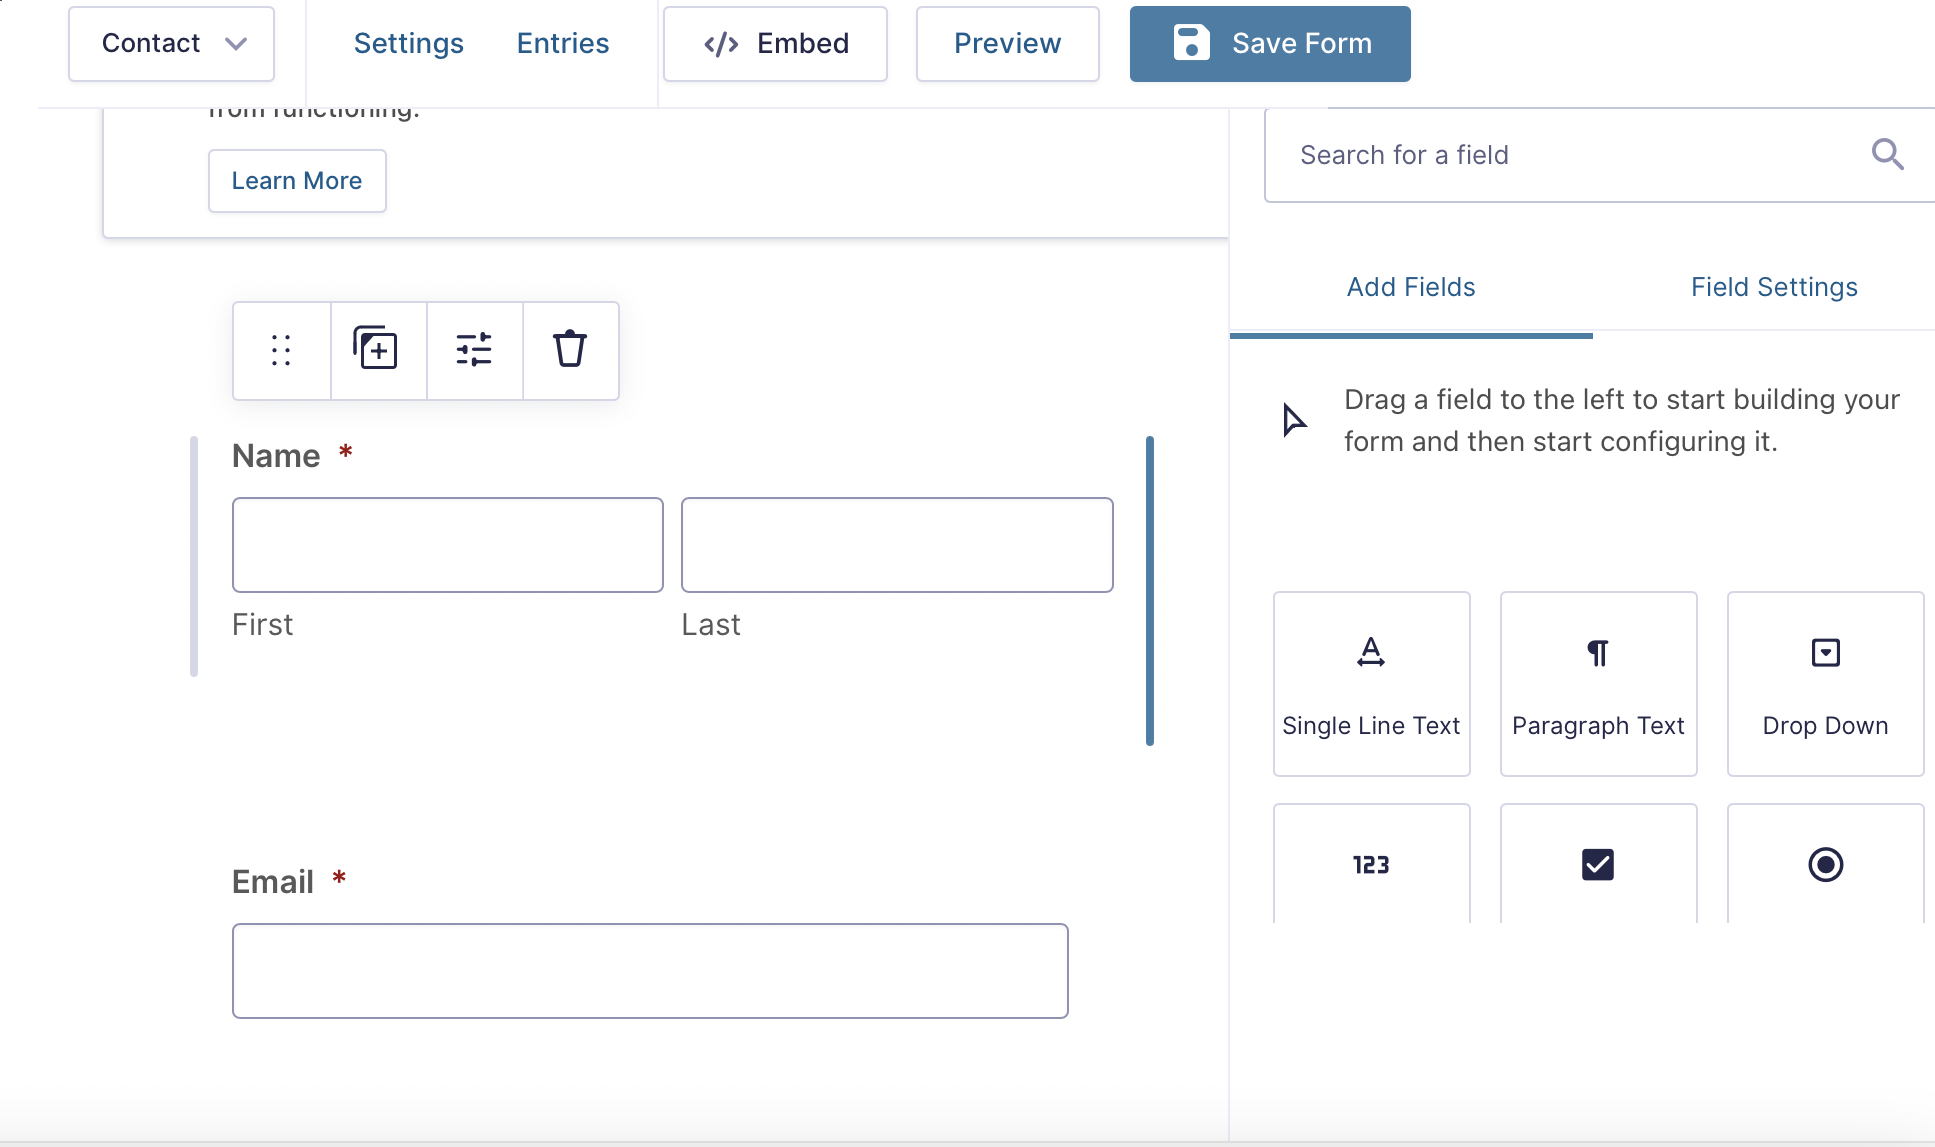
On this page you have your form on the left side and a few dropdowns containing the different form fields you can add. Assuming you’ve read part 1 then you already know how to add and edit these fields and you can skip ahead. If you haven’t please keep reading.
After selecting the form you wish to edit, on the left will be the current fields chosen for the form, on the right are dropdown menus of fields you can select.

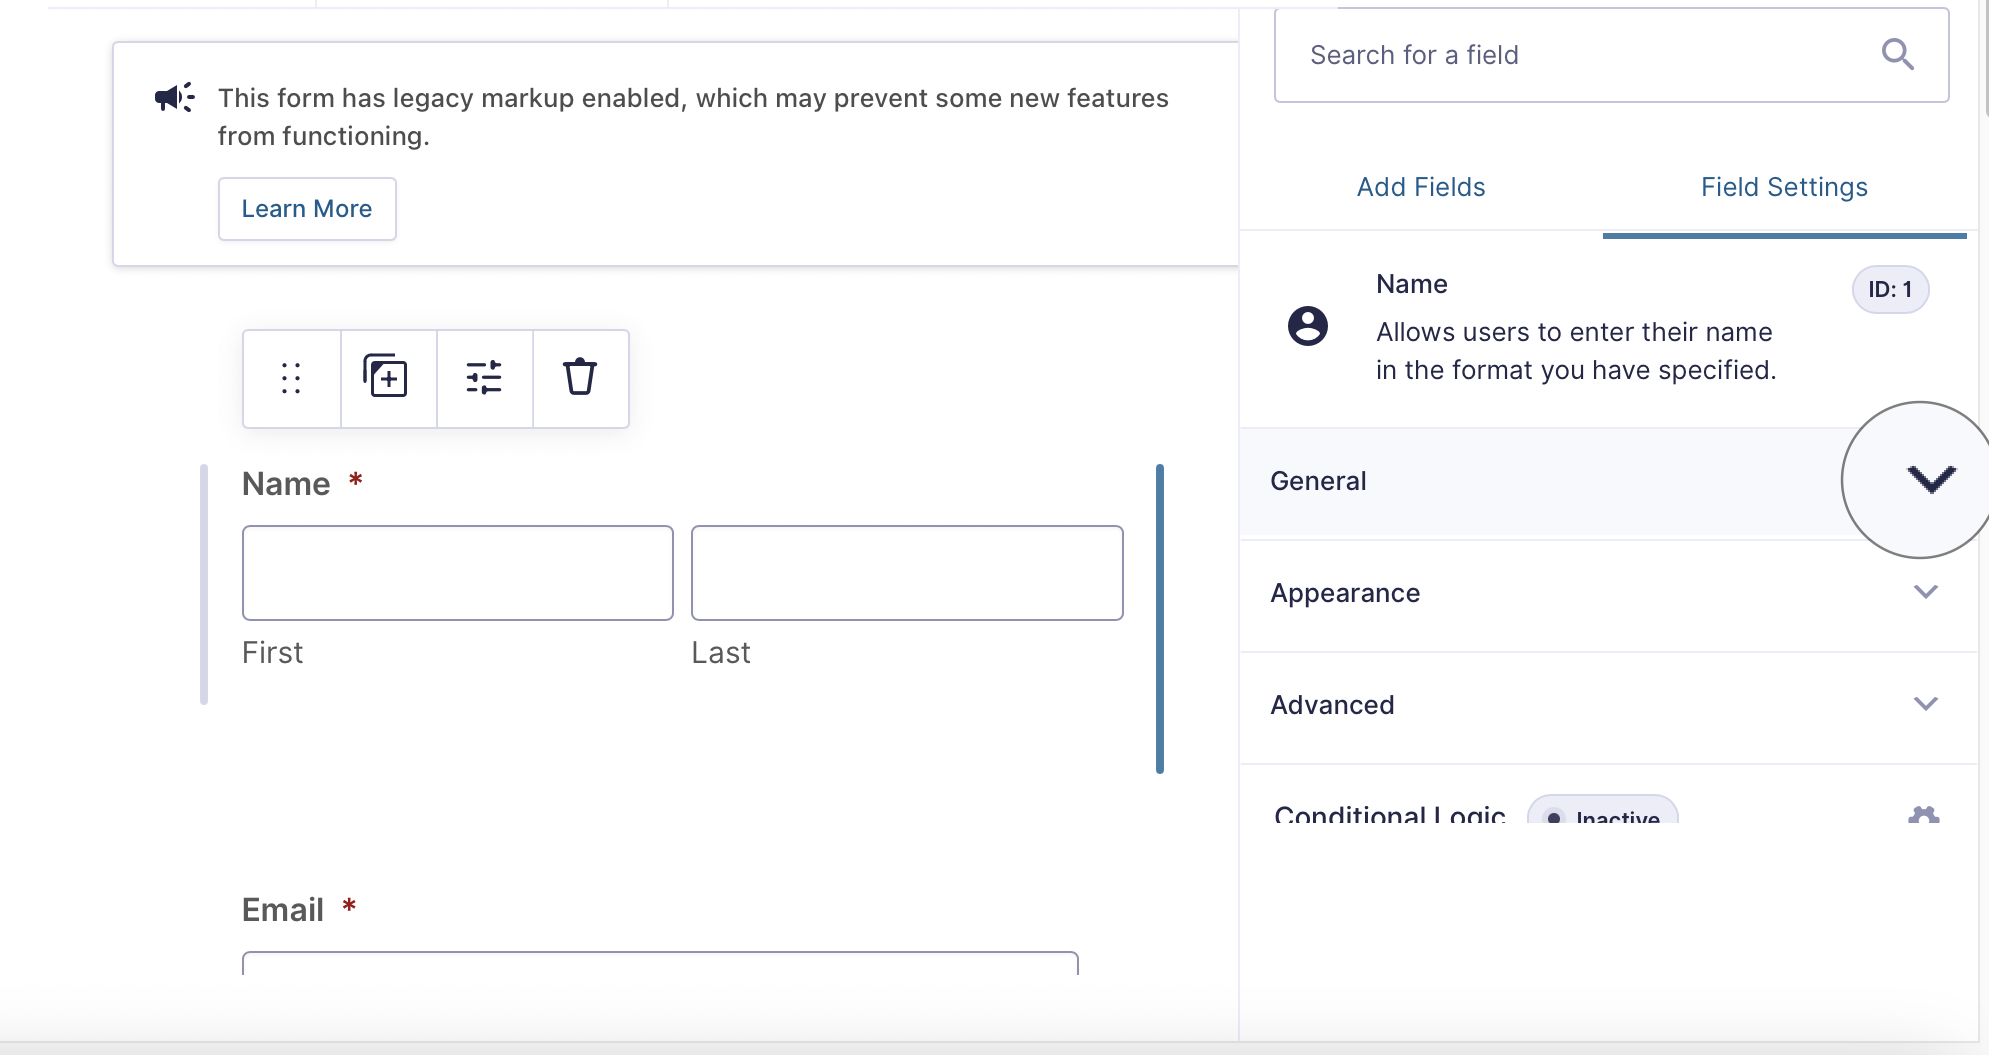
In order to edit an existing field or a new one you have selected, HOVER over it and click the down arrow.

NOTE: All fields have options you can edit, along with ‘?’ icons that describe what each feature does.
Step 4: Previewing
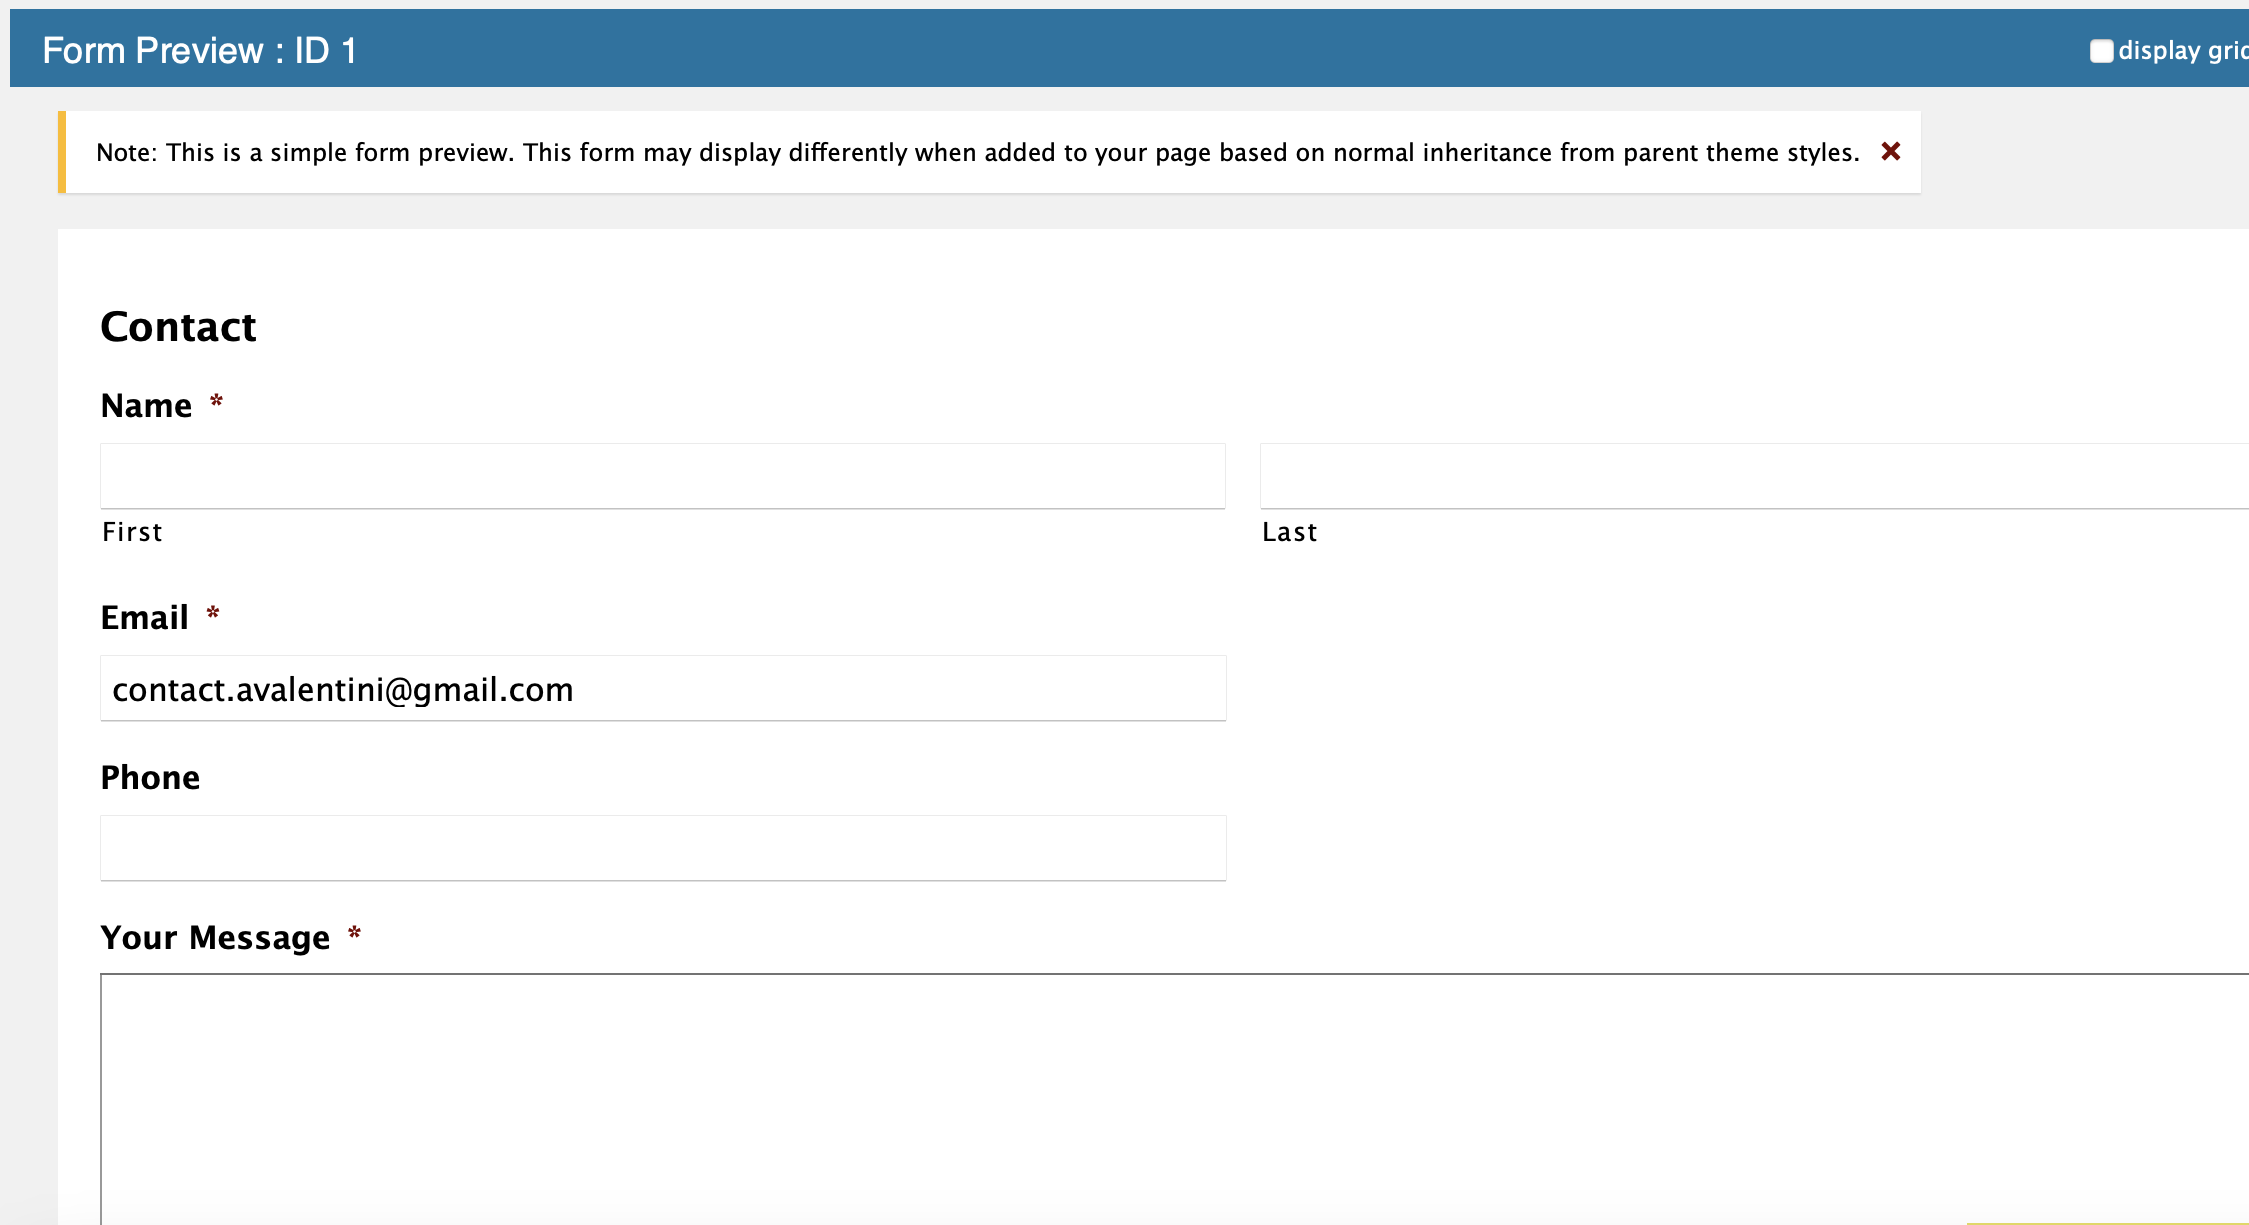
So lets say you want to add the ability to upload an image and consent checkbox and now you want to see what your form will look like before you commit your changes. To do this, simply click ‘Preview’ near the top of the page.

This will open a new tab in your browser and generate a preview of your form.

Step 5: Saving
Now that you have the form how you like it, you need to save your work. Click the ‘Update’ button found bellow the dropdown menus on the right side and that’s all you have to do! Any page that your form in included on (i.e. contact page, sign up/register page etc) will automatically be updated.
NOTE: If you do not see any changes refresh the page. If you still don’t see any changes please feel free to contact us.

