While the website you’re provided with does automatically scale to any screen size, there maybe some instances where you’d like to adjust the text or an image to fit the screen a little better. Here are a few easy steps on how to do exactly that.
Step 1: Enable Visual Builder
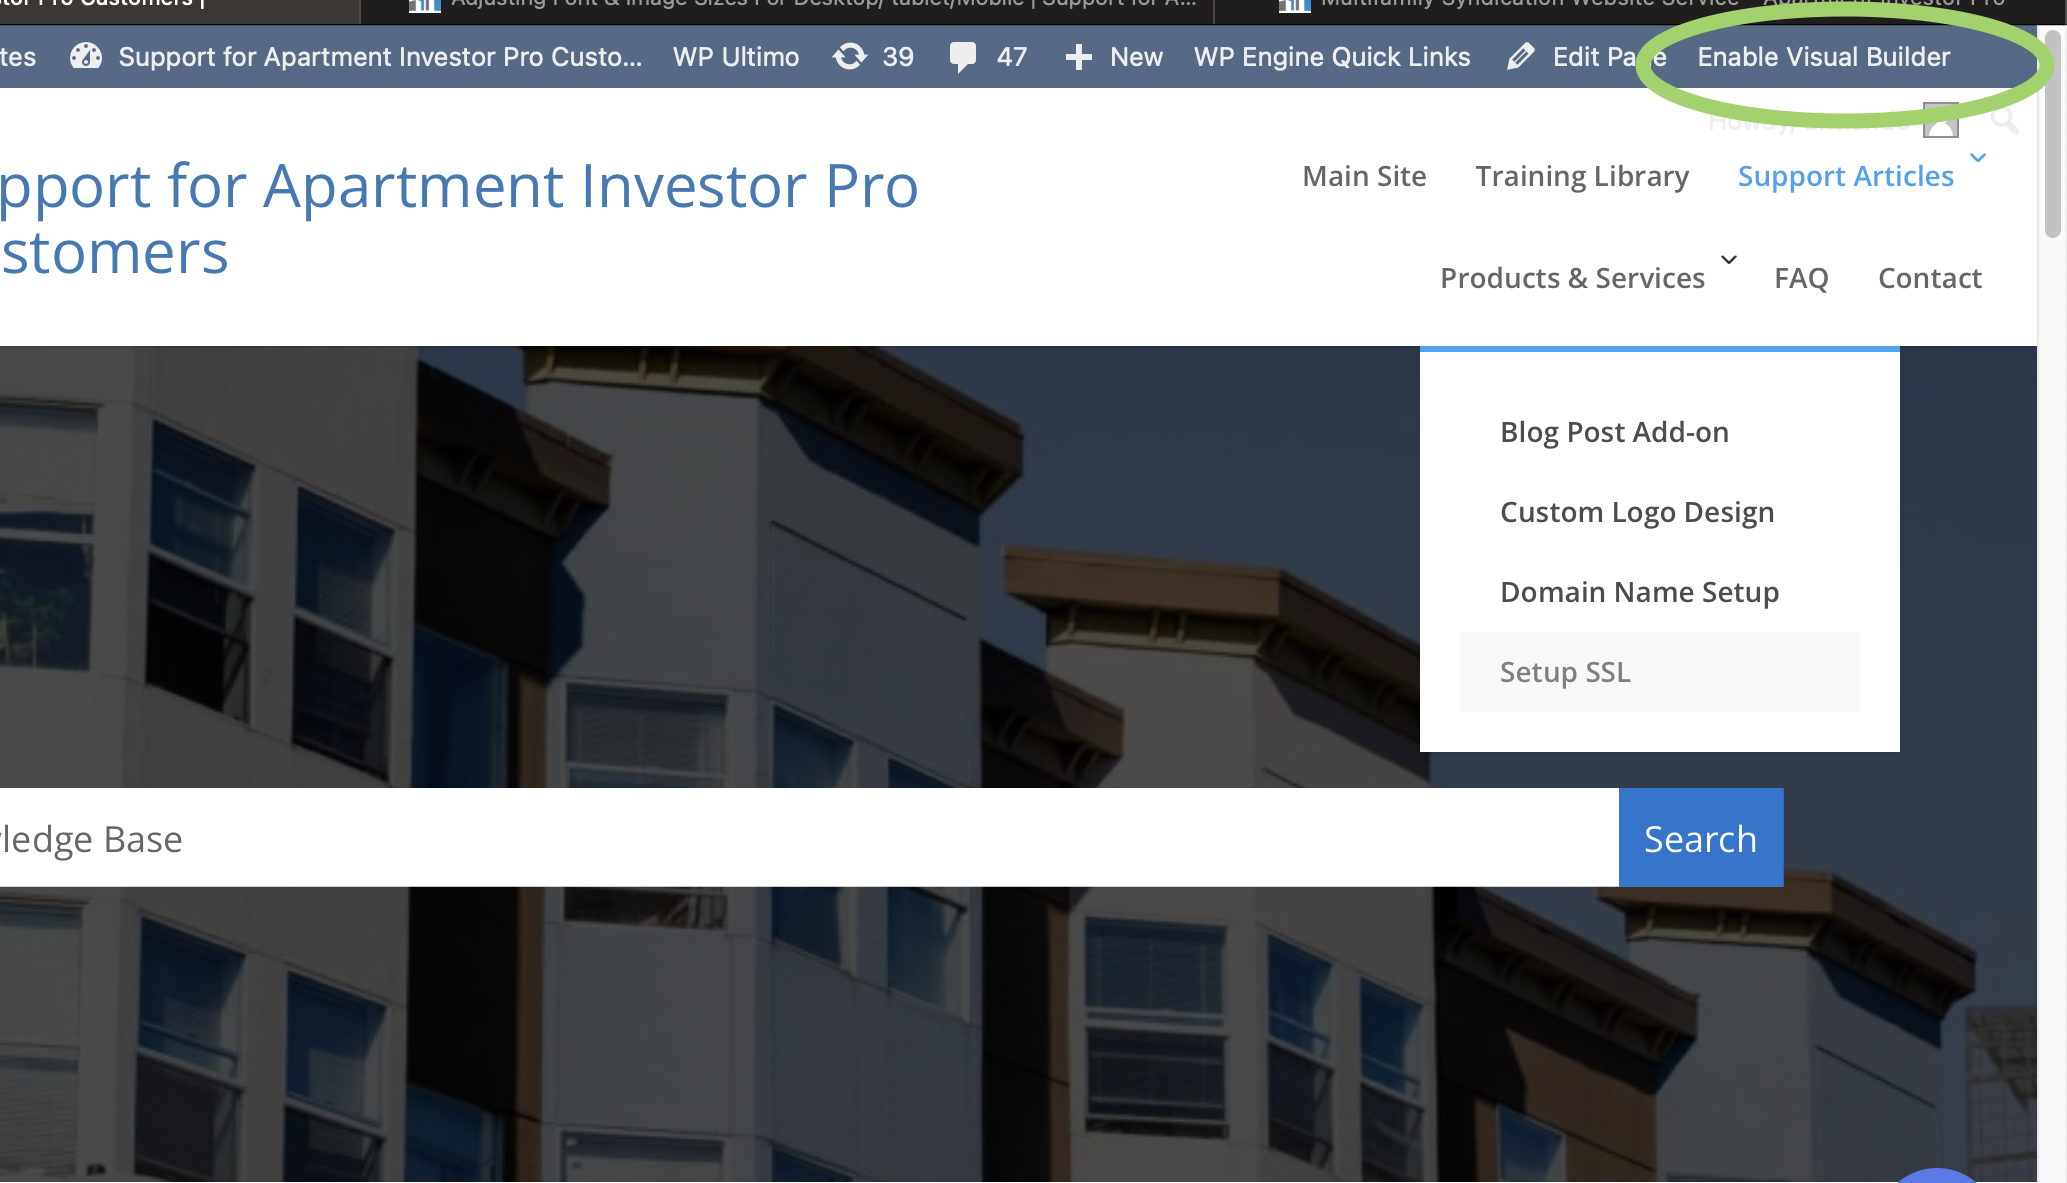
When you’re logged into your website, you’ll find at the top of the page a menu item called ‘Enable Visual Builder’, click that.
Step 2: Open Module Settings
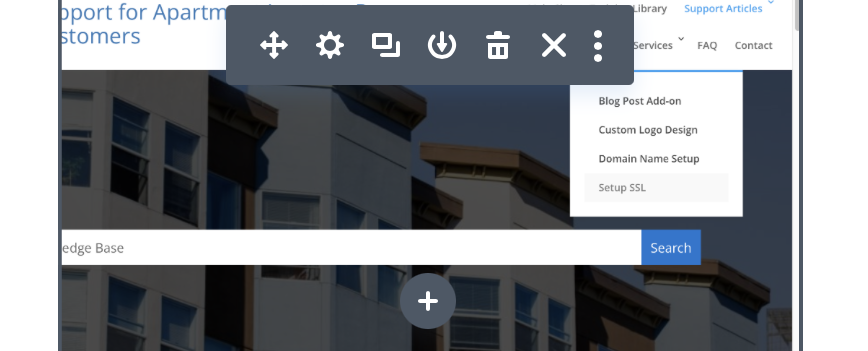
Next hover over the text or image you want to edit and a grey box will appear near the top. When you see it, click on the gear icon. This will open the Module Settings.
Step 3: How to Change Text Size
The first 2 steps are required for whatever you want to change the size of. The following steps however, are for adjusting text size.
Click on the ‘Design’ tab and select ‘Text’.
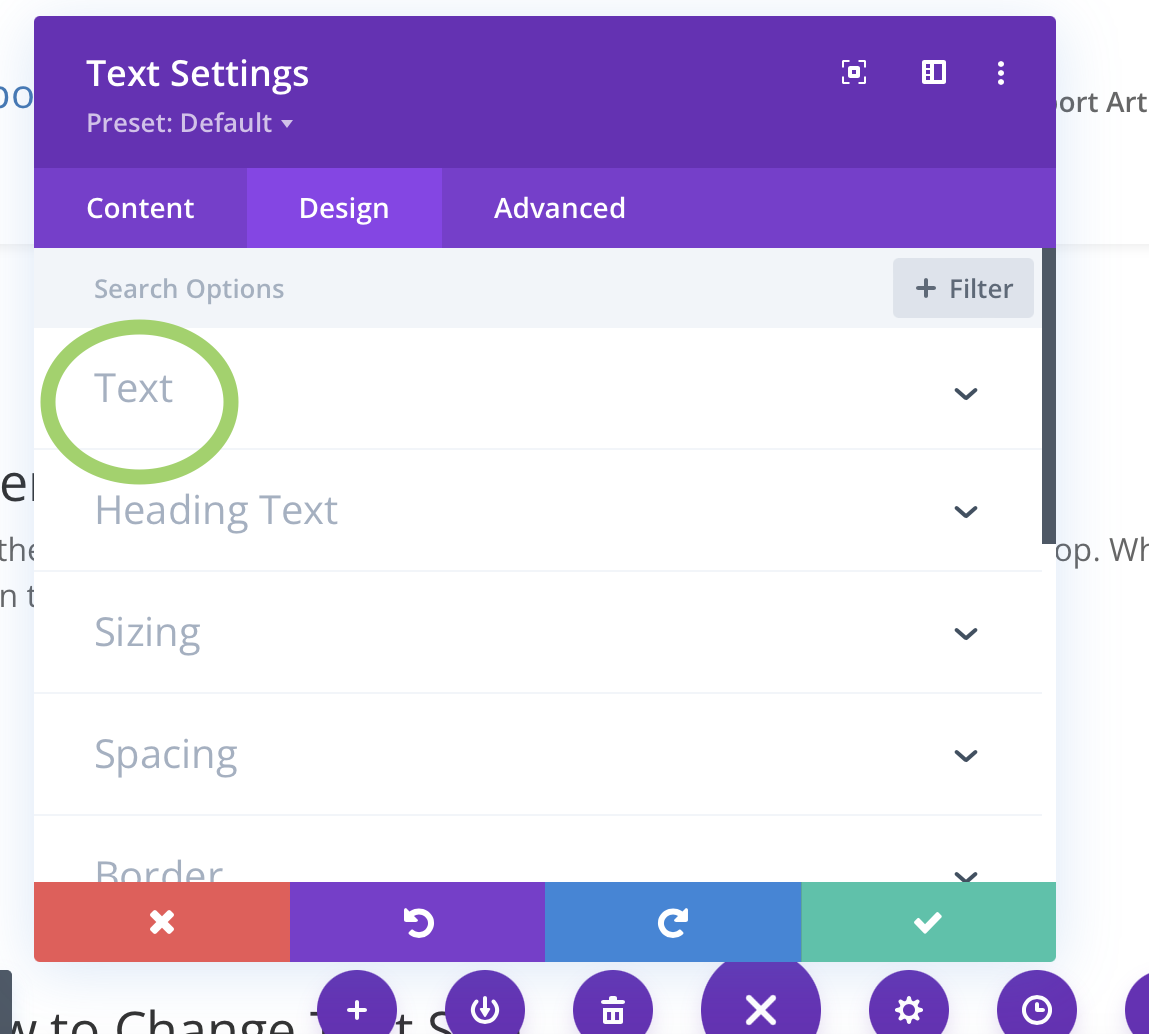
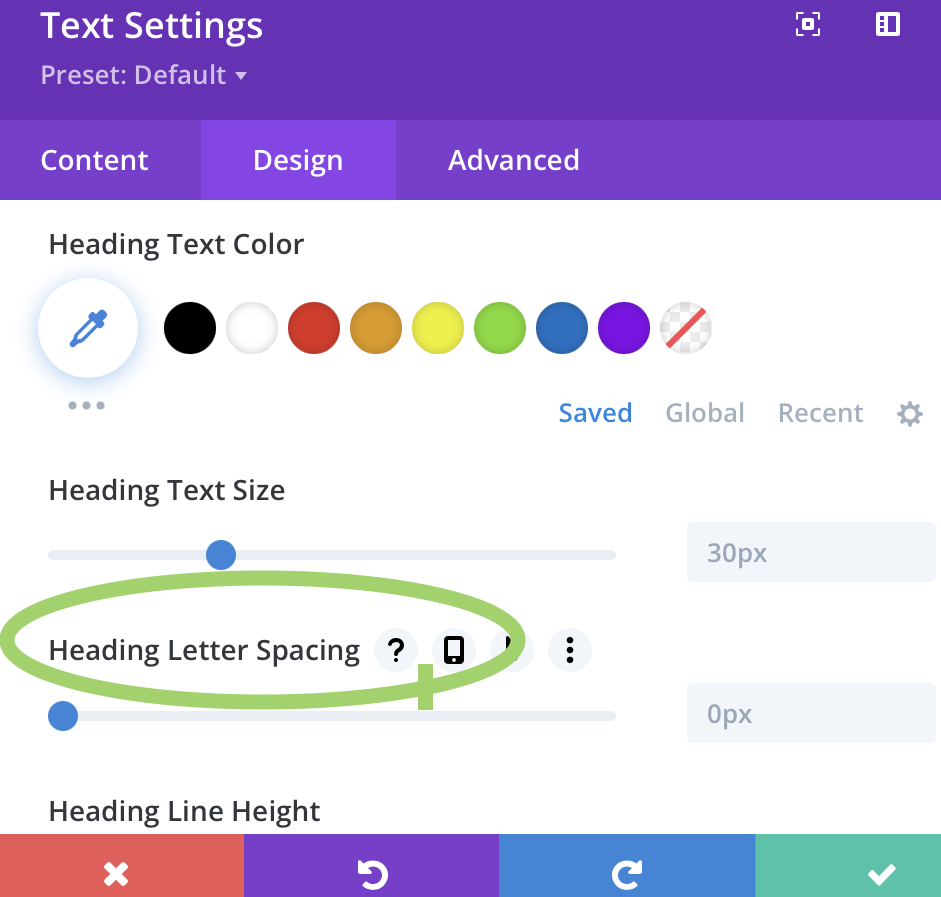
In the ‘Text’ dropdown you’re given many different settings you can change. Any setting that displays a little phone icon when you hover over it means you can change how the text appears on different devices. For example ‘Text Size’ gives you this option.
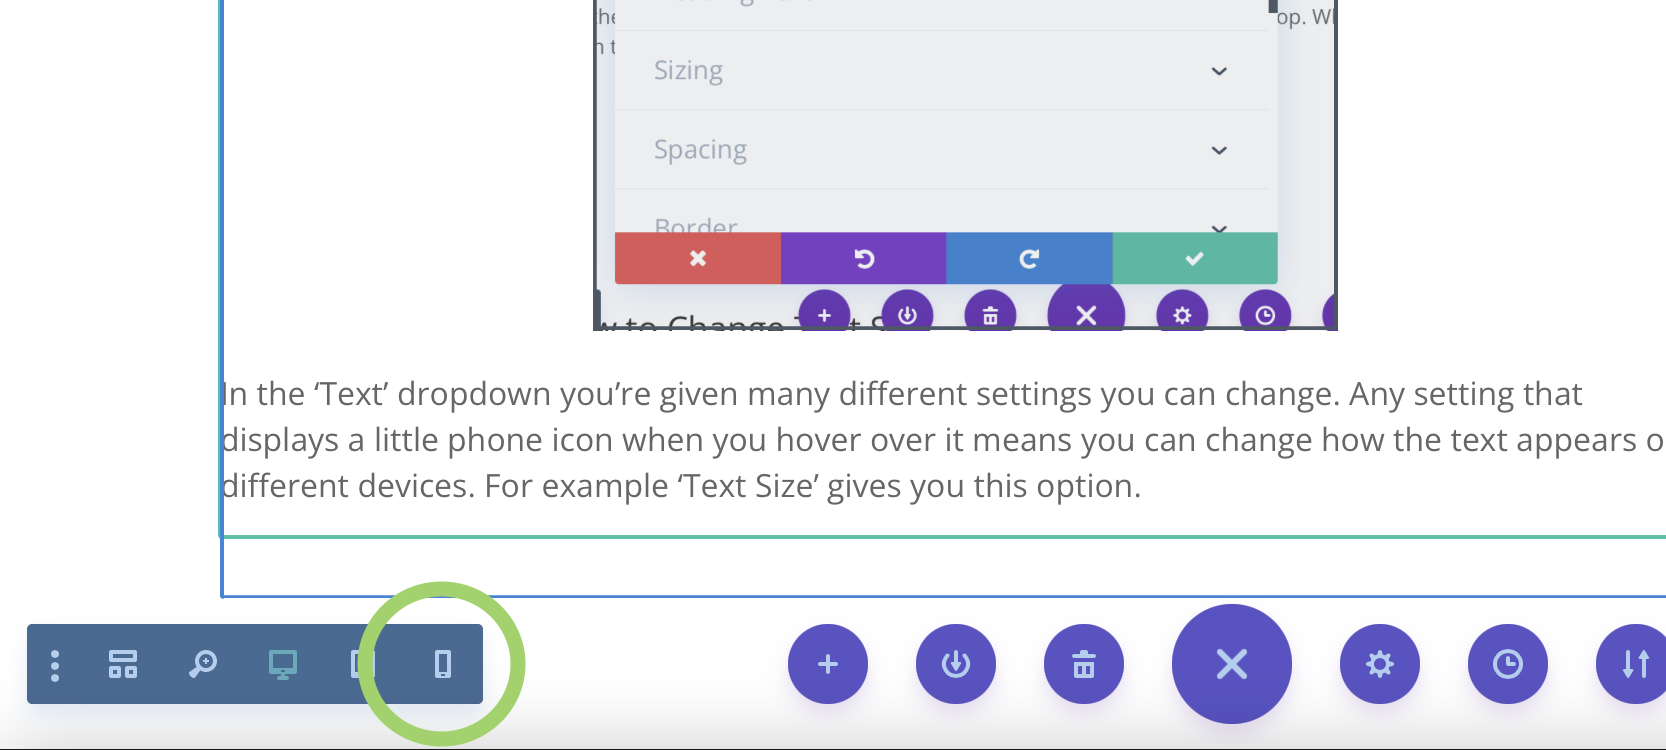
As you will notice there are 3 additional tabs that now appear: Desktop, Tablet & Phone. When you click on one of these the Visual Editor will adjust the size of your website accordingly.


Step 4: Adjusting Font Size
Once you’ve selected the device you’d like to change the font size for, all you have to do is move the slider left or right and you’ll see on the screen the font size changing.
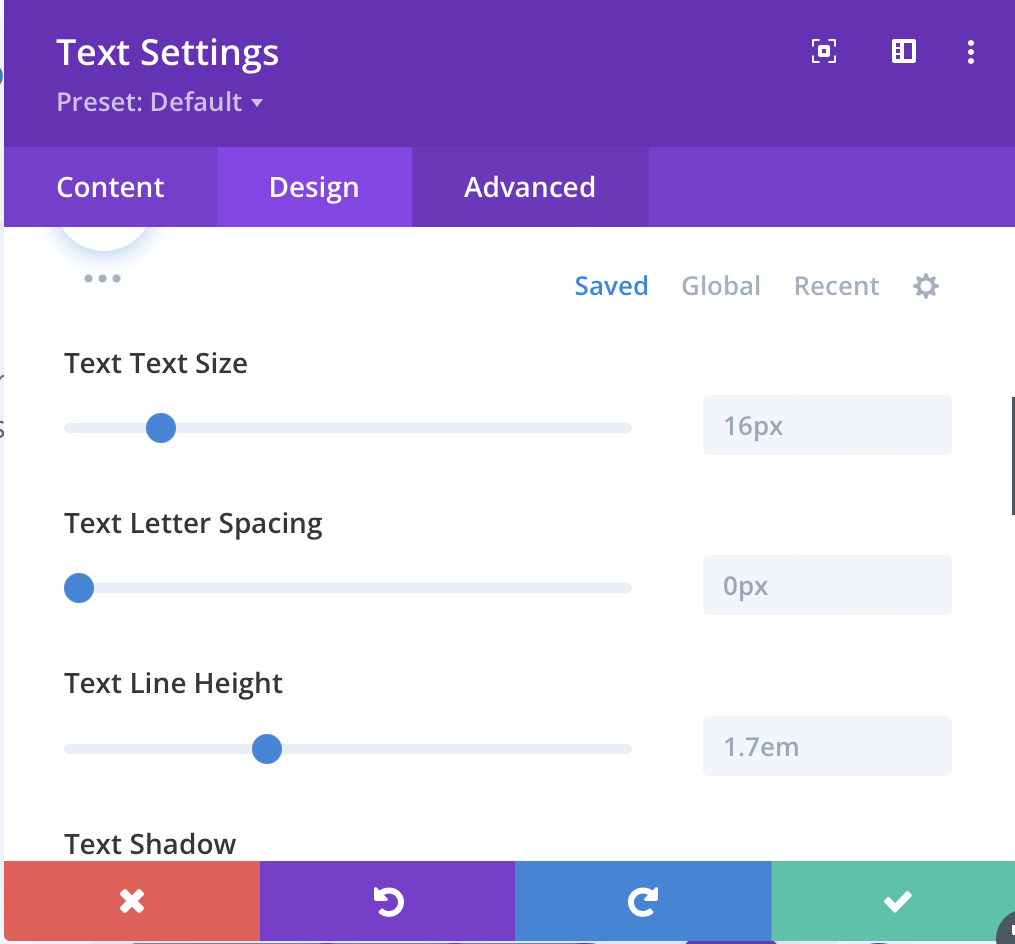
Changing Font Size of Headings
Now if you’d like to adjust the font size of a heading or sub-heading, the process is exactly the same, however where you do that is slightly different.
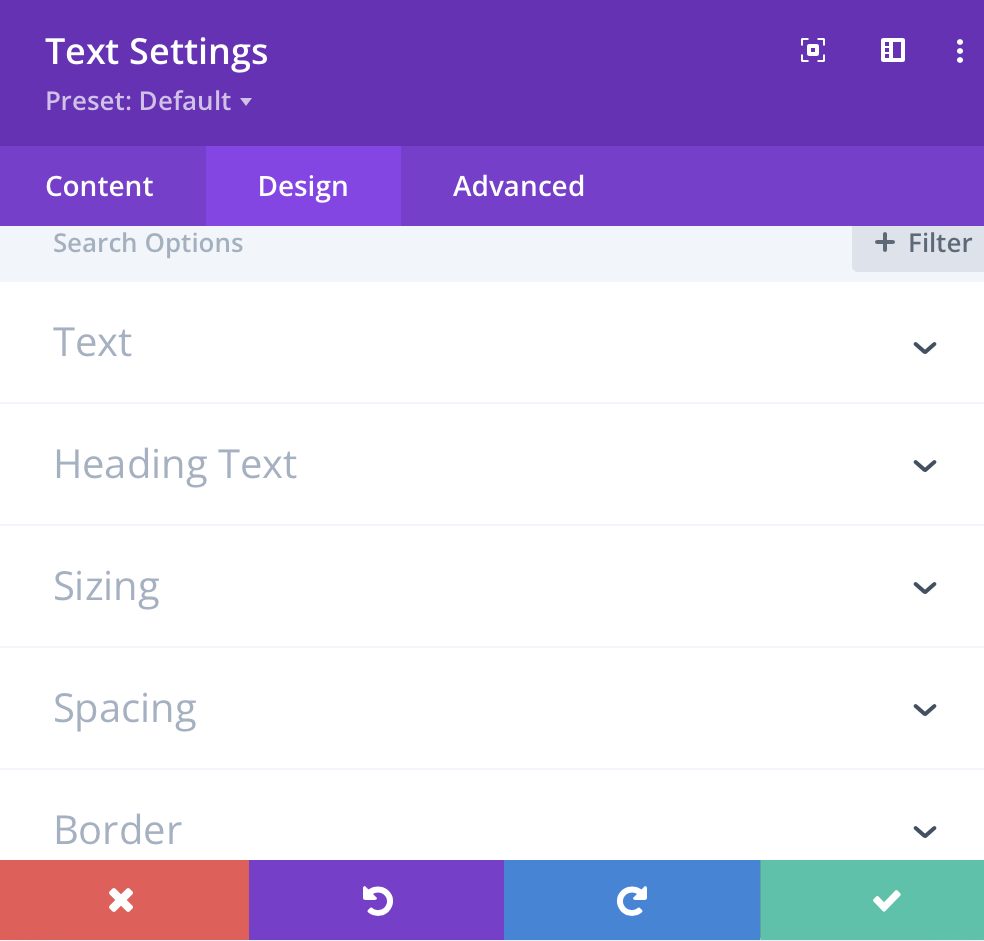
Close the ‘Text’ tab and click on ‘Heading Text’.
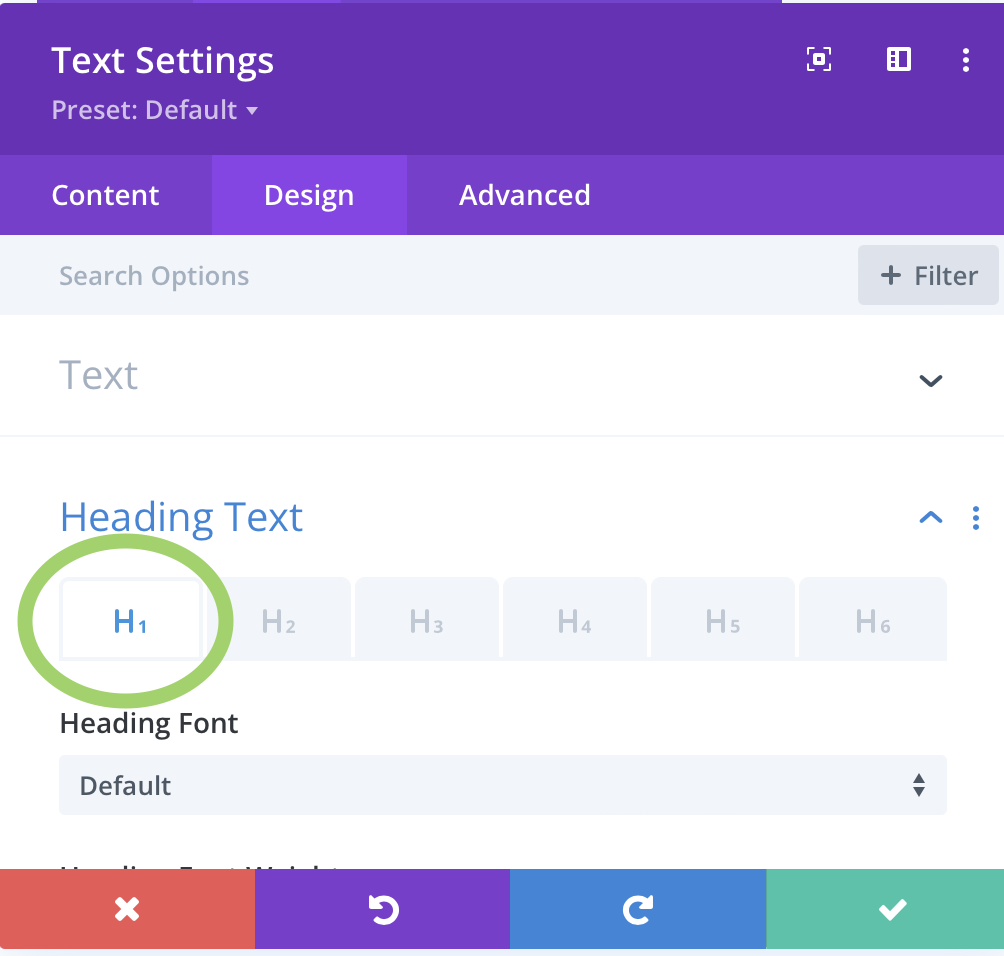
The settings for Headers are almost exactly the same as they are for regular text. The difference being, there are 6 different types of headers, labeled H1-H6. However the process to adjust the font size remains the same.
NOTE: If you’re NOT seeing the font size change you may need to select a different header.
Step 5: Changing Image Sizes
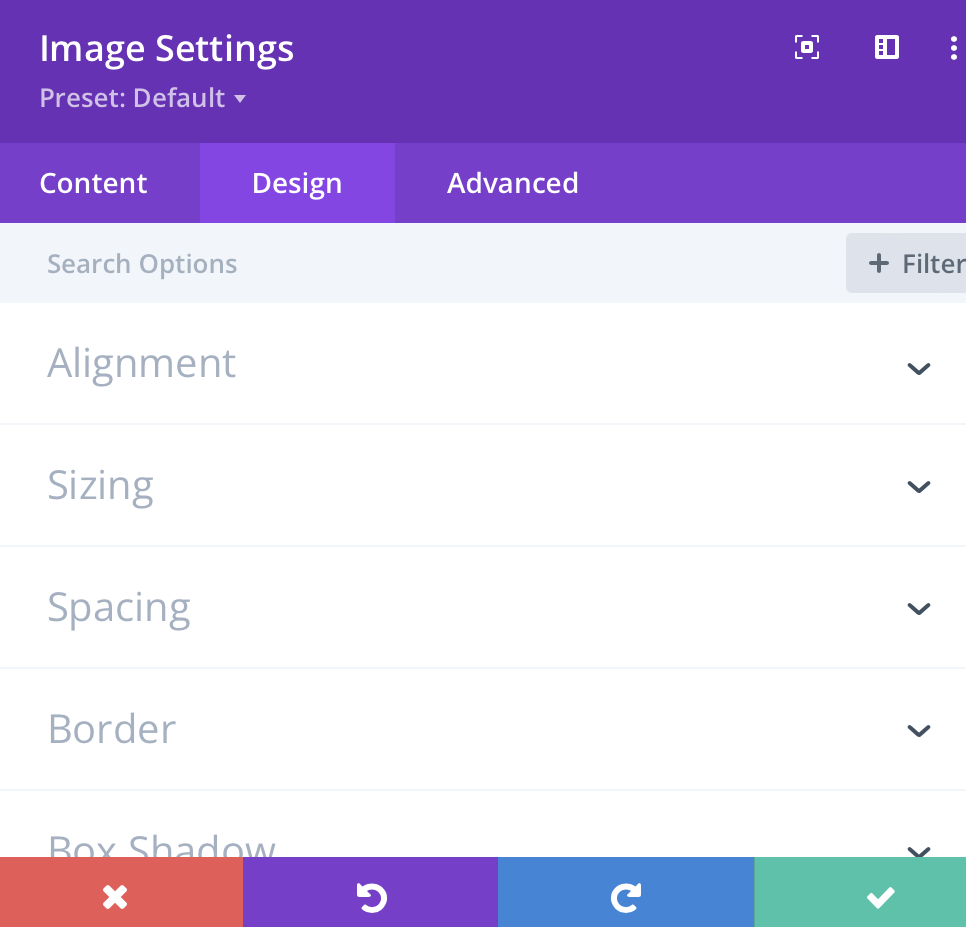
Another element on your website you may want to adjust is the size of an image. Repeat the first 2 steps above. Then click on the ‘Design Tab’, then scroll down till you see the ‘Sizing’ dropdown.
Then simply click the phone icon, select the device to which you want to adjust the image on and move the Width Slider.
Step 6: Saving
Once you have your text or image adjusted to you want it, you MUST Save your work for it to show on your website for the world to see.
- Click the green arrow at the bottom of the settings box
- Click Exit Visual Builder in the top menu
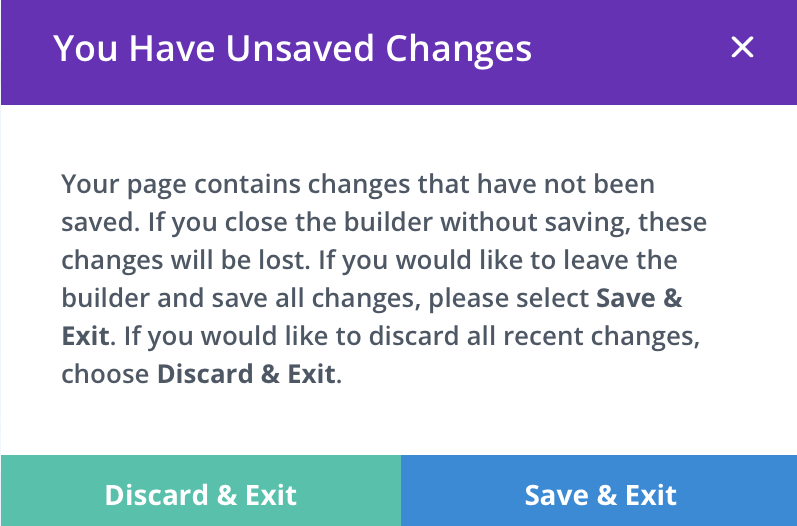
- Click Save & Exit in the pop-up box

