
In this tutorial, we’re going to show you how to properly set up your domain if you have your domain with HostGator. Please follow ALL these steps in order.
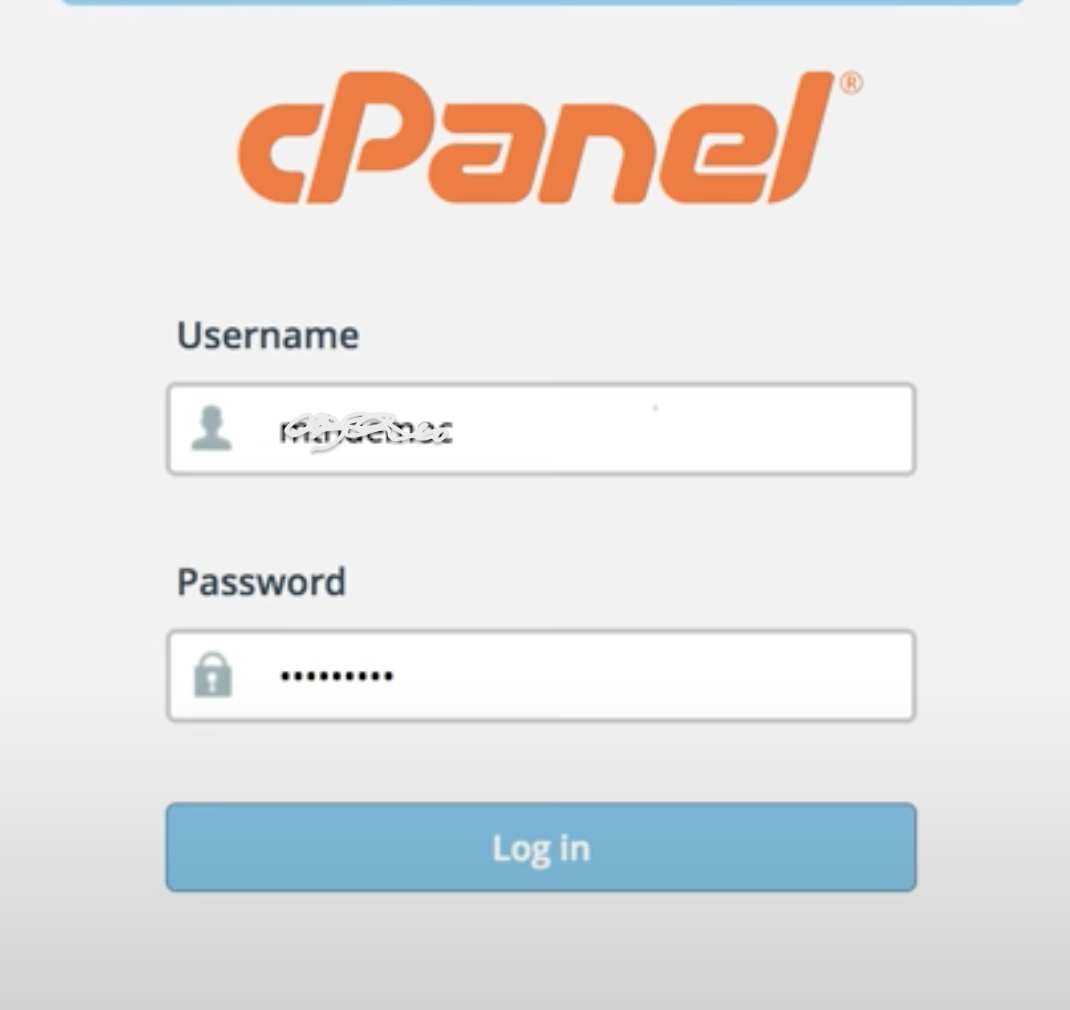
Step 1: Open cPanel
After you log in, you’ll see your Welcome Page. Select Launch cPanel.
Step 2: Open Domain Settings
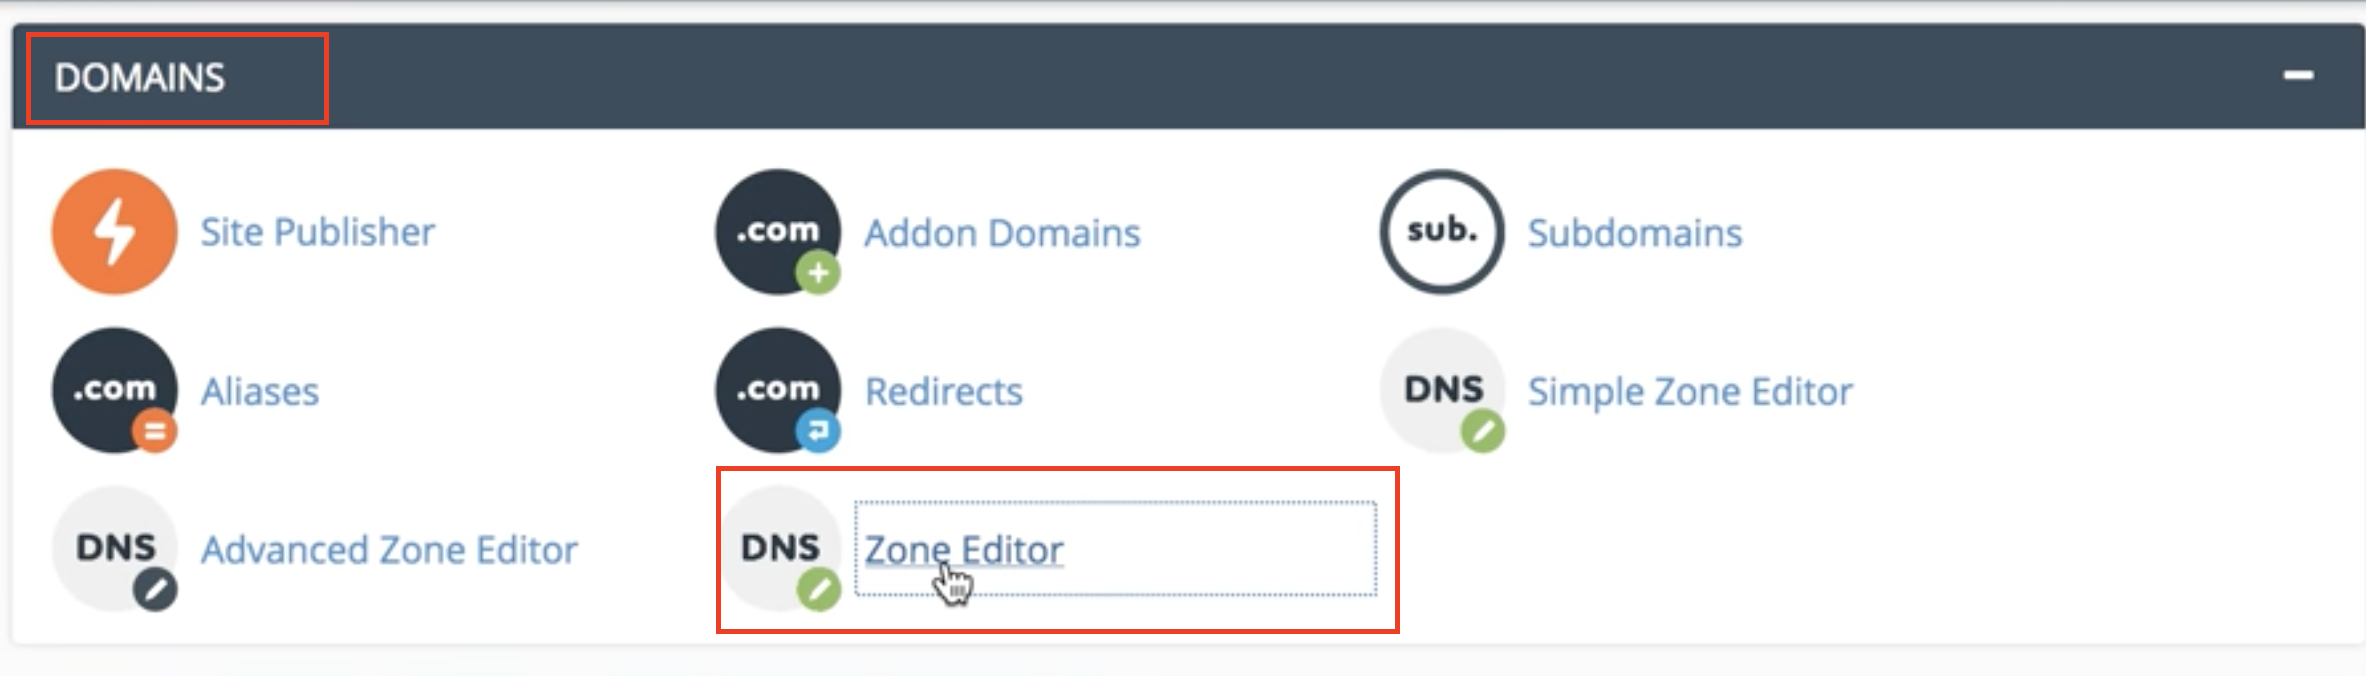
Once you are redirected, your cPanel dashboard will appear. Scroll down to the ‘Domains’ settings.
Once you see the box with the domain settings, click on Advance Zone Editor.
 Next, click on ‘Manage’.
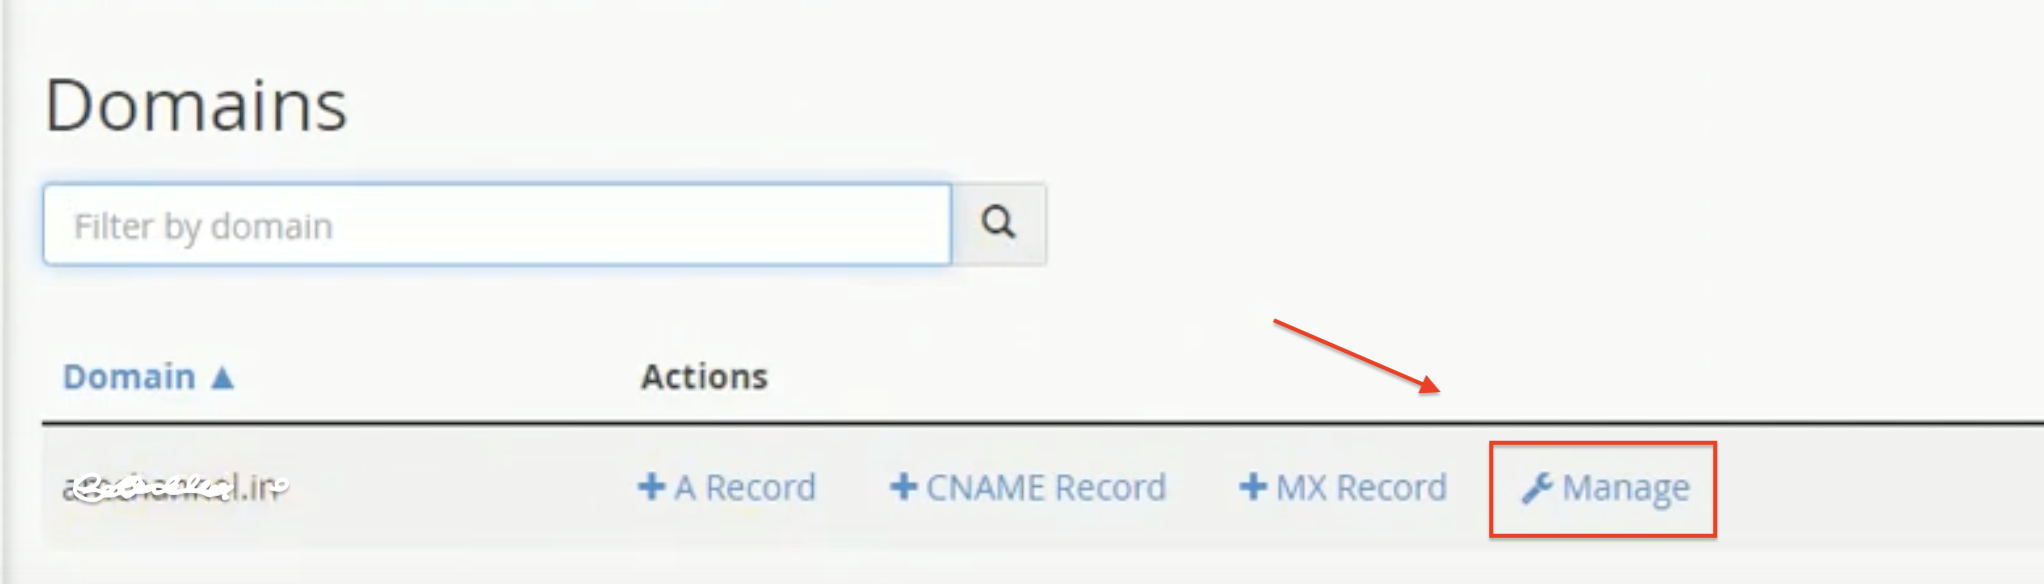
Step 3: Select your domain
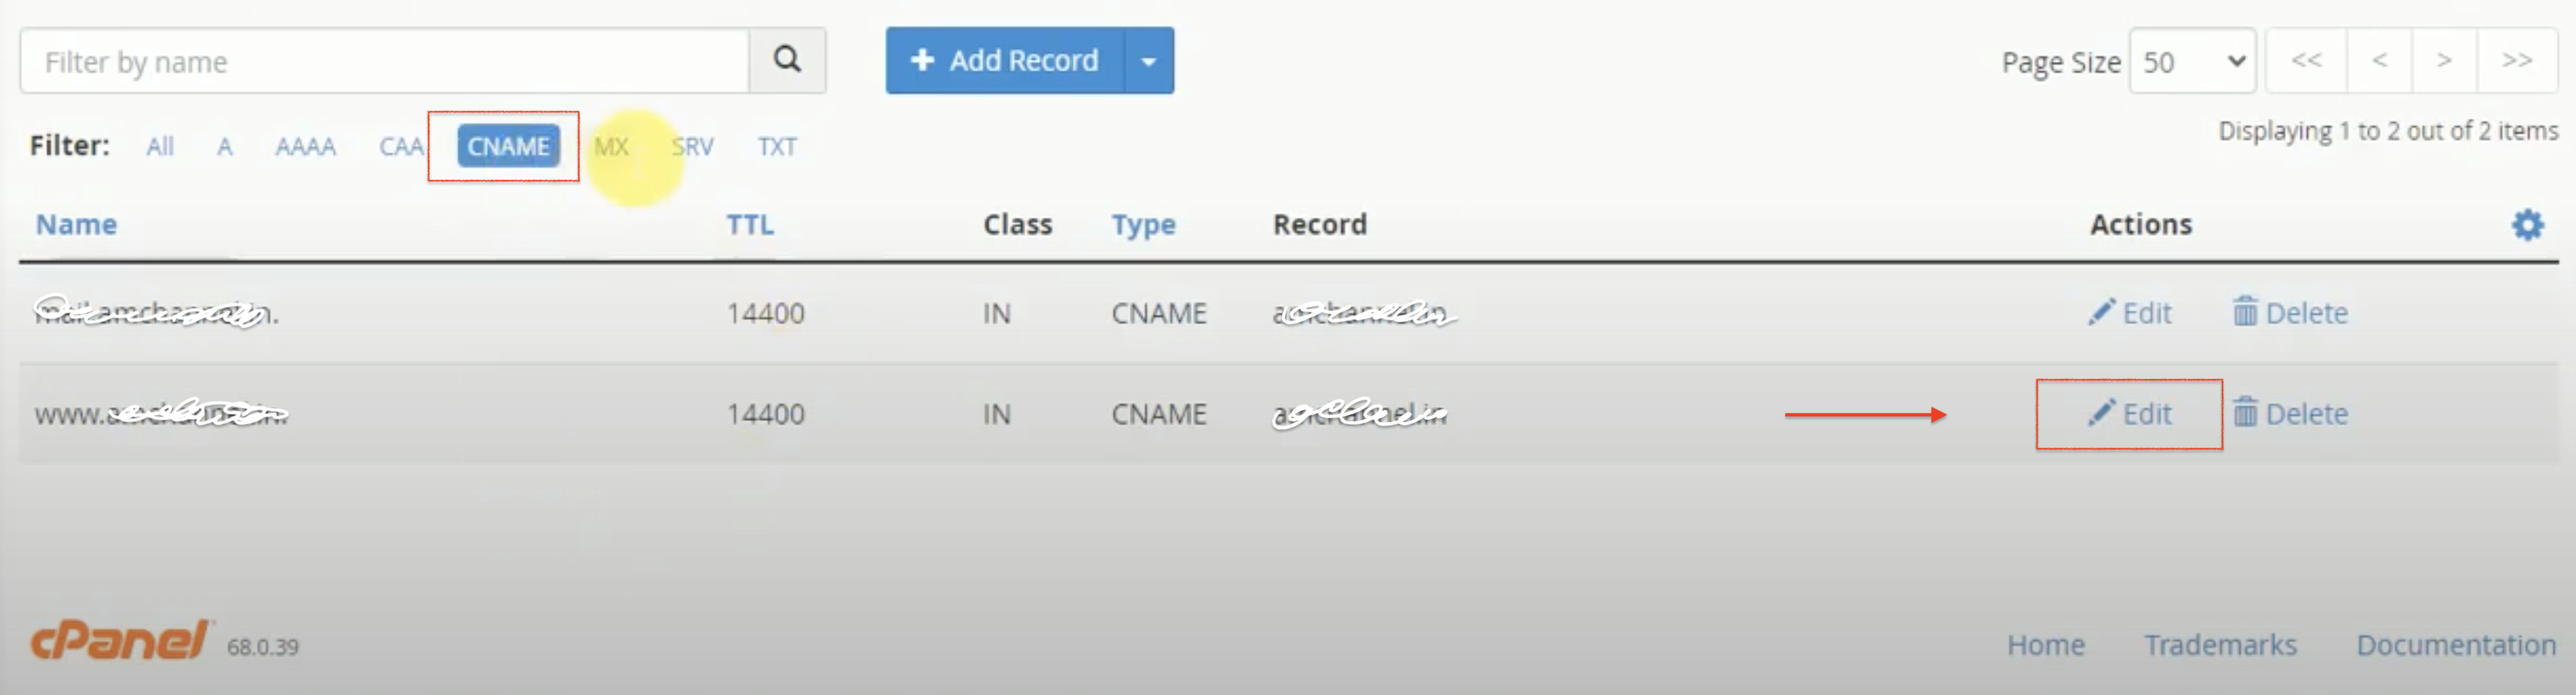
As soon as you select your domain a bunch of records will appear but you only need to edit one of them. The record you want to edit will appear as ‘www.yourdomain.com’ under the ‘Name’ column. You can easily find the correct record to edit by clicking ‘CNAME’ in the Filter options. You can copy and paste the name: wp.wpenginepowered.com
Once you click on ‘Edit’, the fields will be available to edit. Change the field under the ‘Record’ column and click ‘Save Record’. See the image below.

Step 4: Editing the Redirect
So what we did in the previous steps will make your domain work with www. But since most people today don’t add www, we want it to also work if someone just types your domain name without the www. So we’re going to forward the non-www version of your domain with www.
From the main menu of your cPanel, scroll down to Domains again but this time select ‘Redirects’.
On this page, you’ll be presented with another form. The second dropdown field labeled ‘https?://(www)?’ is where you will select which domain you want to set up a redirect. If you only have 1 domain there will only be 1 option. In the field labeled ‘Redirects to’ enter your domain name again but make sure to add ‘www’ at the beginning of it. NOTE: Make sure the rest of your settings look like those in the image below.Step 5: Attach Your Domain To Your Site
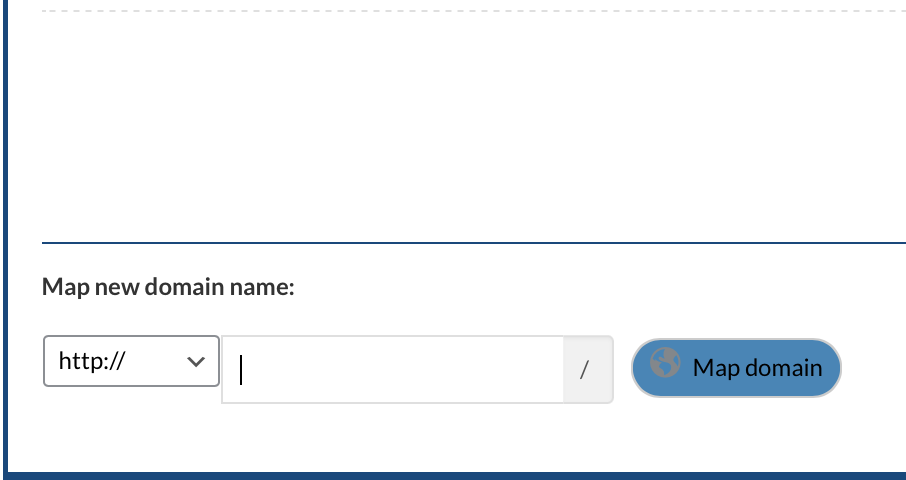
Almost finished. Log into your Apartment Investor Pro account and scroll down till you see on the side menu ‘Tools’. Hover over tools and click on ‘Domain Mapping’.

Once you’re redirected add Your domain to the ‘Map new domain name’ Field.

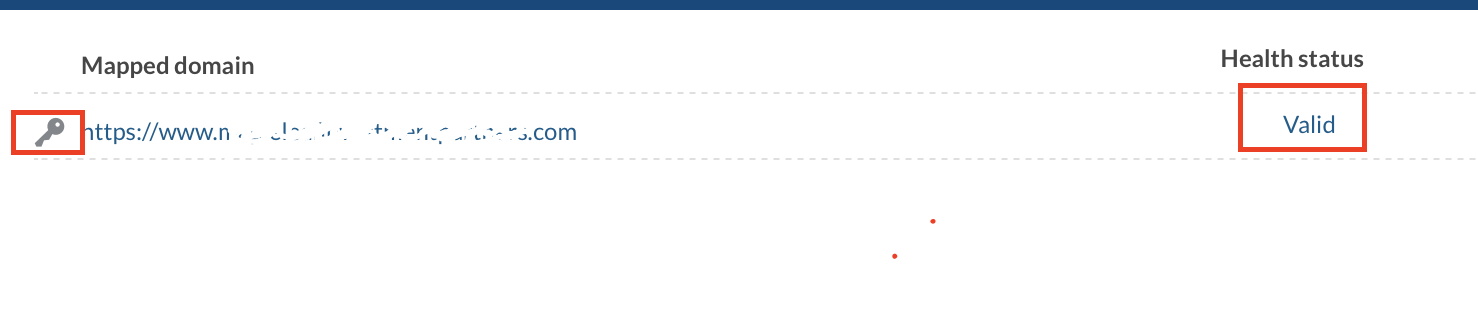 The final results should look like this.
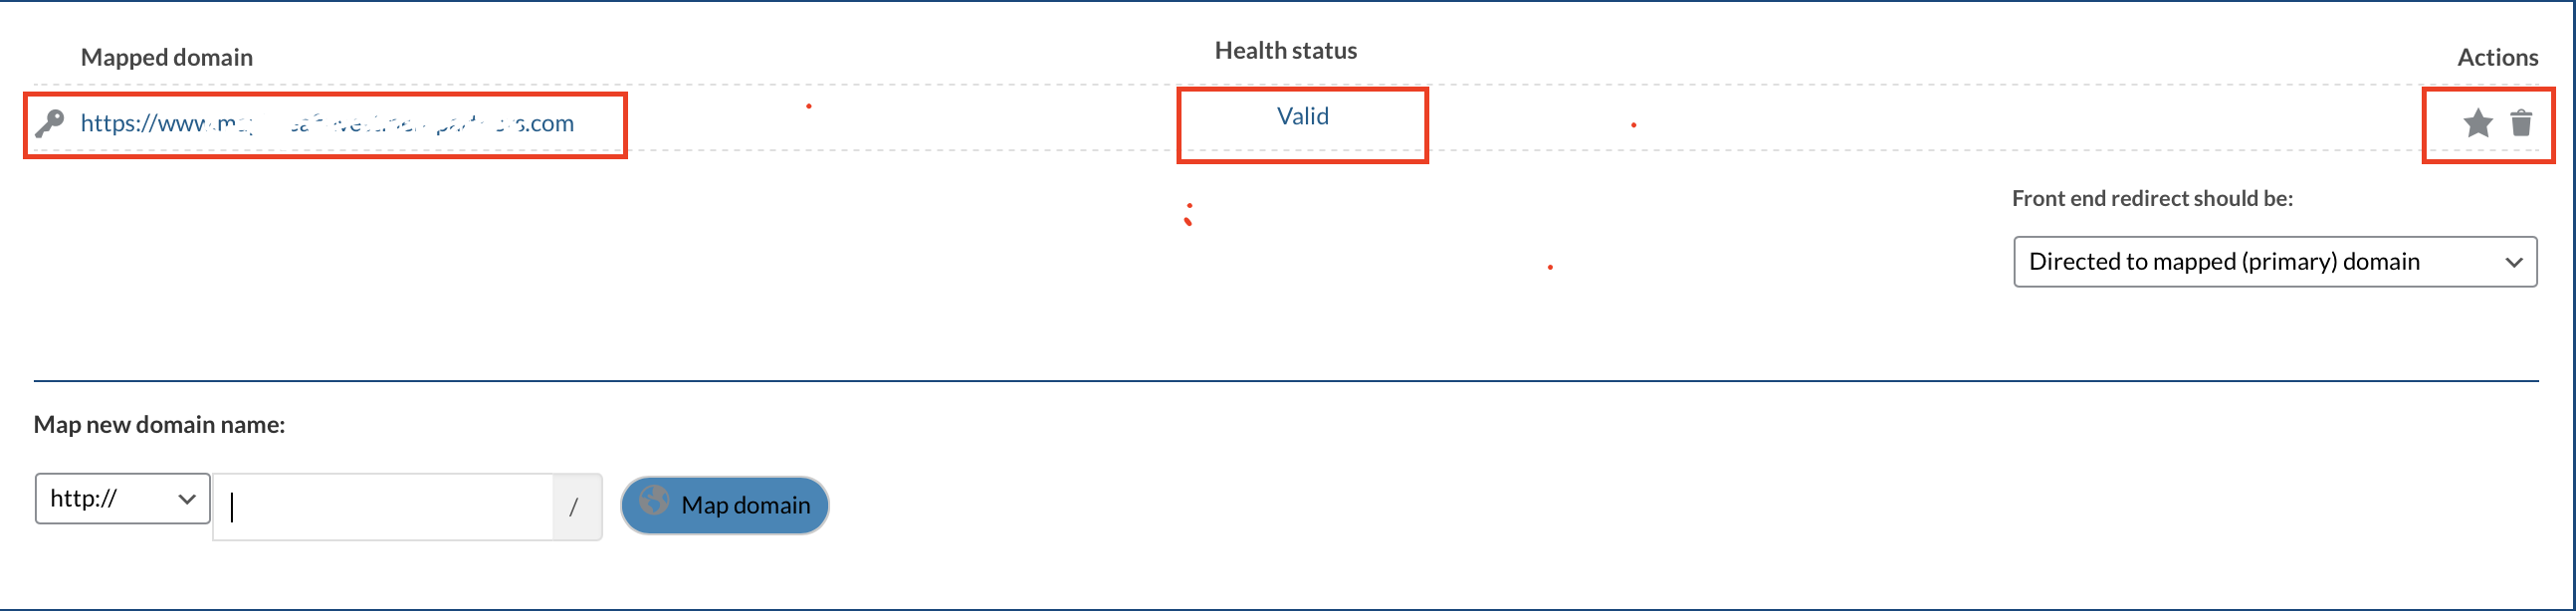 What you’ll also want to do is click the Star icon under ‘Actions’ for the domain you just added. This will make it the primary domain. Otherwise, it will use your Apartment Investor Pro URL as the primary and will affect your sitemap. What does this mean? Well if you are concerned about SEO, it’ll make a difference because all of the URLs in your sitemap will show as your Apartment Investor Pro domain name if you don’t change your primary domain.
Step 6: Request SSL Certificate
The last thing you’ll want to do is set up an SSL certificate. What is an SSL certificate? An SSL certificate makes your website more secure. It also puts the little “secure” lock icon in your web browser when you visit your site. Having an SSL certificate can help people to trust your website.
This last step, however, you cannot do yourself. You’ll need to submit a request for an SSL Certificate to Apartment Investor Pro support. Once you have submitted the request, you can sit back and relax as our team sets up your SSL Certificate.
Once Completed you will receive a confirmation email letting you know the process has been completed.
If you run into any issues, feel free to contact support.