
The first thing you’ll want to do with your new website is customize it with your business information.
To do that, click the menu item called “My Site Info”. It should be near the top of the list.

This will take you to the settings page where you can set up your business information that will appear on your website.
Here are the most important fields to fill out:
Site title: This would normally be your business name. It appears at the top of your website, in the header section.
Admin Email: If someone fills out a contact form on your website, by default this is where the information will be sent.
Company Name: When you enter your company name here, it will appear in the text throughout your website. If your company name ever changes, you can change it here to update it on all your pages.
Business Address: There is a spot on your website for your business address to go. If you don’t have one, you may want to get a post office box or a mailbox from something like the UPS Store. With the UPS Store you’ll have a physical address rather than a PO Box. If you don’t want to display an address, there are a couple spots on your website that will need to be edited to remove the address. It’s nice to include an address because potential investors want to know where you’re based.
City: Besides showing up wherever your address is listed, your city name will also appear in a paragraph on your home page, which says where you’re based.
The other fields should be self-explanatory.
You may also update your logo on this screen by uploading a new one.
When you’re finished, be sure to click the Save Settings button.
If your logo is too big or has extra space around it, CLICK HERE
If your logo is too large or has extra space around it
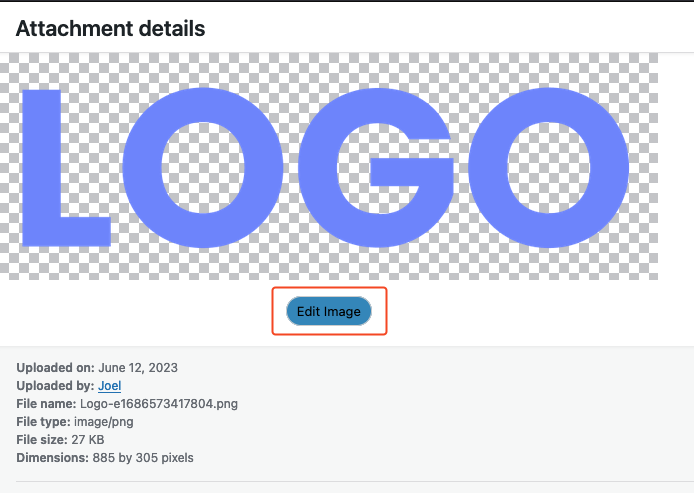
If the logo is large or has extra space around it, you may need to edit it. To do that, after you uploaded your image you should see a link called “Edit Image”. Click that.
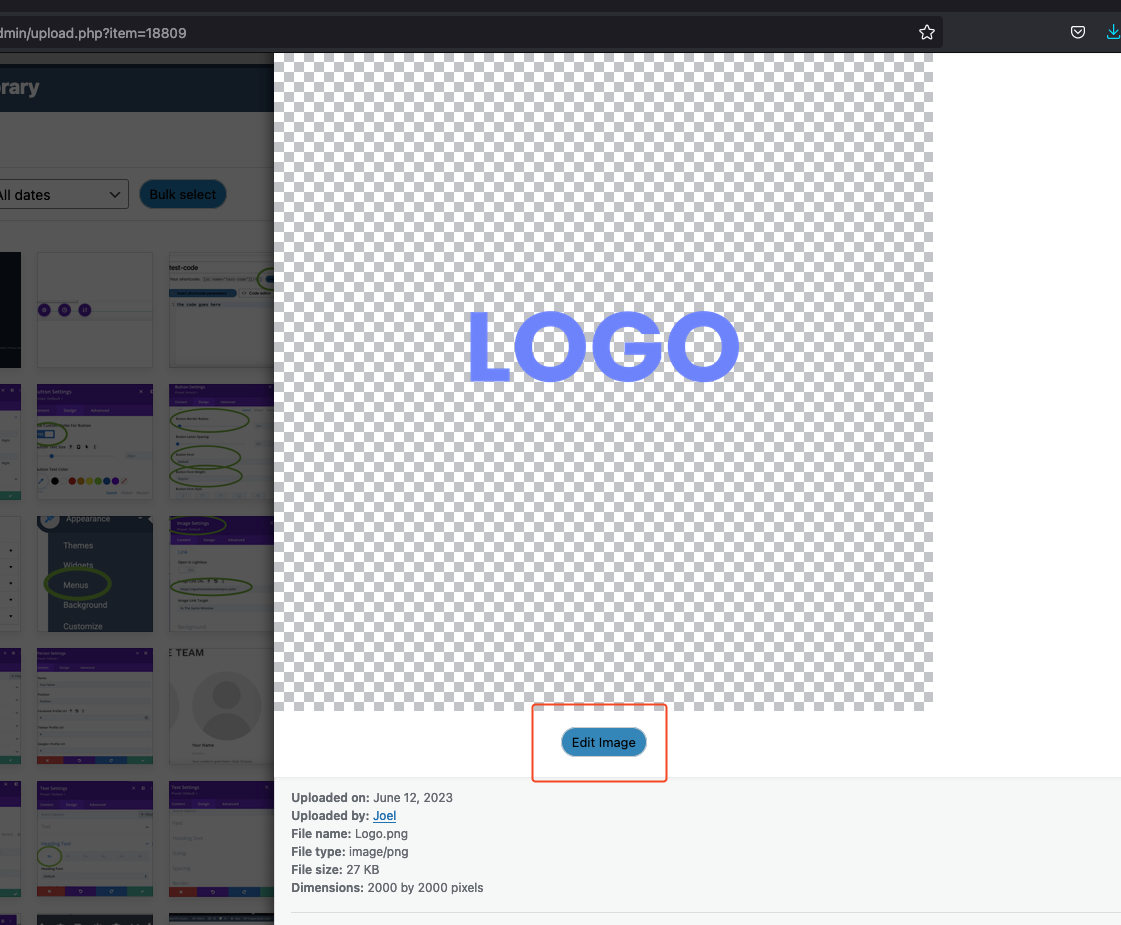
In the example below, you can see my logo is 2000 x 2000, which is too large. This measurement is how many pixels wide and high your image is. Just for reference, a really wide laptop screen might be about 1600 pixels wide. So 2000 wouldn’t even fit on the screen, much less be a good size for your logo on your site.
You’ll also notice the checkerboard pattern. That means the background of my image is transparent, which is fine. But look how much extra space there is around my logo. That will make my logo look really small. We need to cut out all that extra space.
To do that, we’ll crop it.
Click and drag a box around the area you want to keep. Like this:
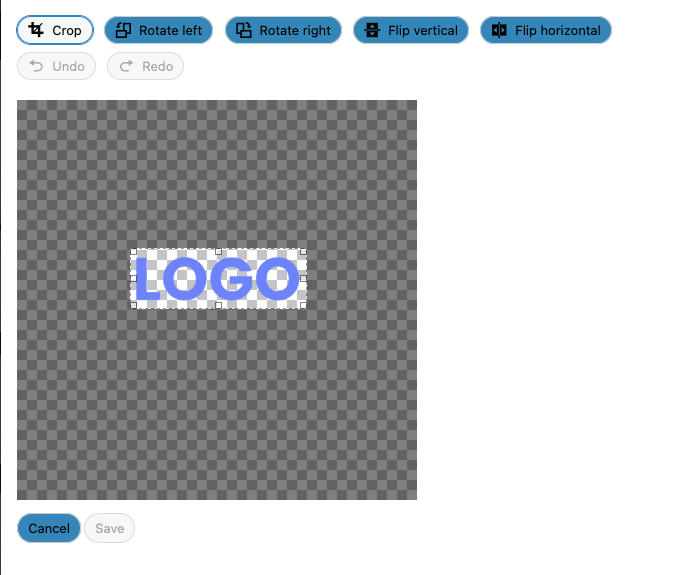
You’ll notice I left a little space around the edges, but cut out most of the blank space.
Next, click the first icon on the left, which is to crop:
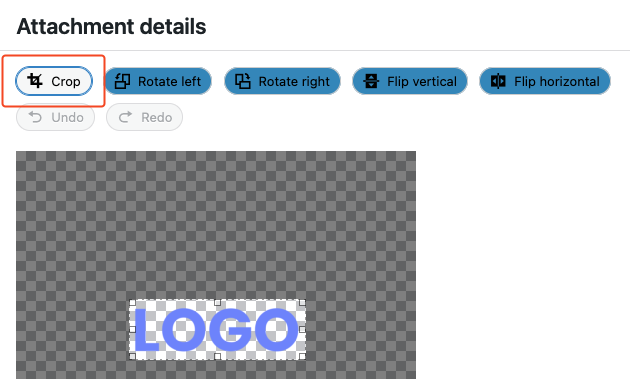
Drag the edges of the box to the size you want.
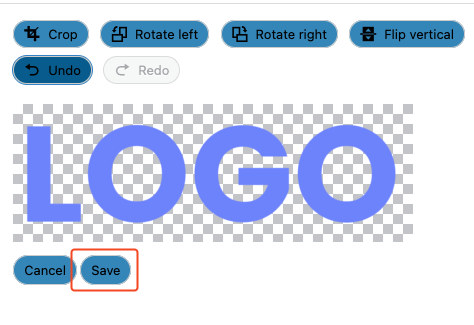
Then, click the Crop button again to crop the image, then click the Save button:
This will take you back to the previous screen. If you also need to resize your image, like I do, click the Edit Image link again.
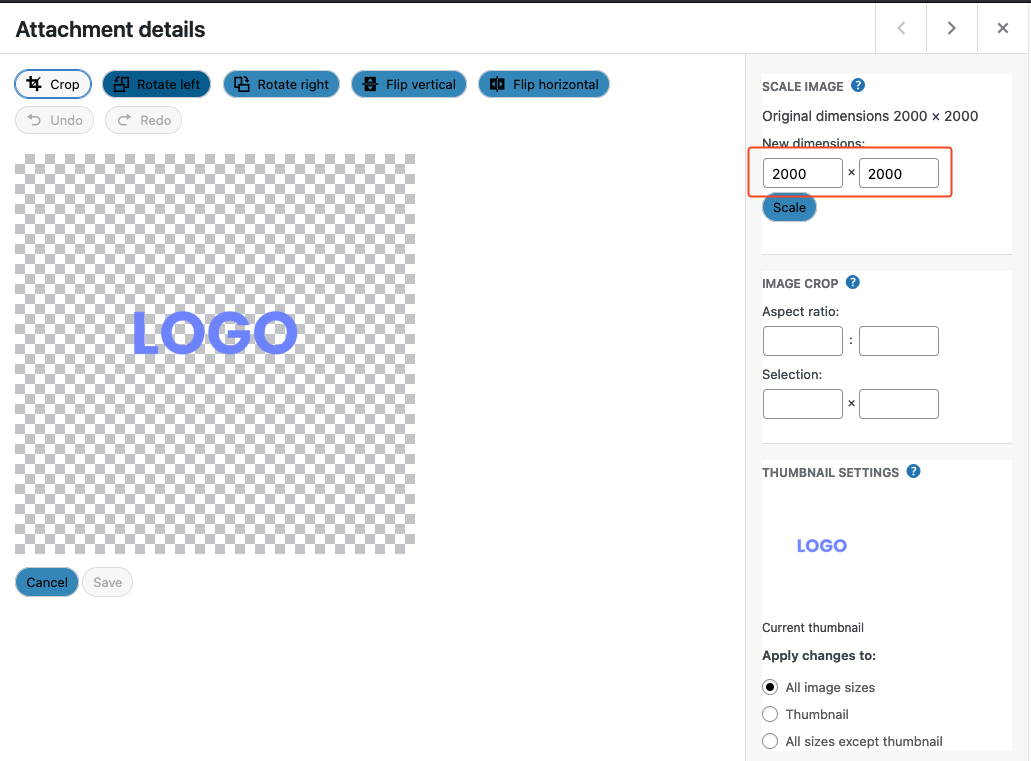
Now, let’s resize our logo to a more reasonable size.
On the right side of the screen, you’ll see a section to scale the image:
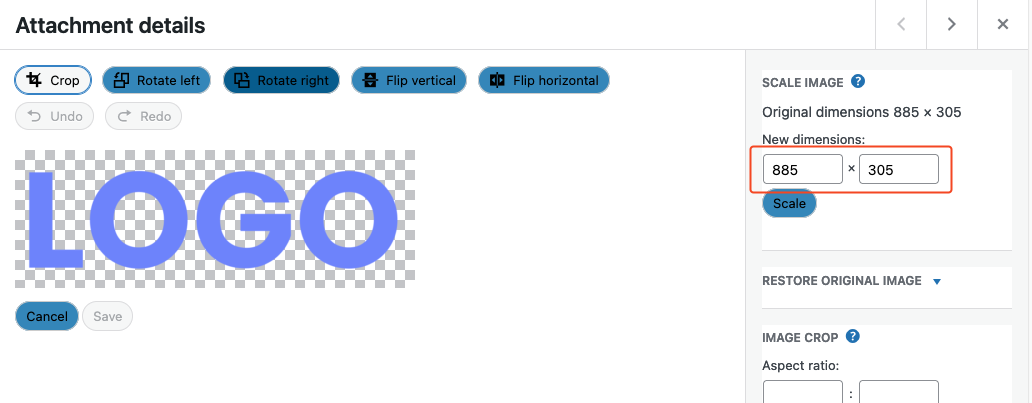
In the example above, you can see my image is 885 x 305. That’s too large. The second number is the height. Usually about 200 is more than enough. So I’ll change that second number to 200.
You’ll notice when you change one of the numbers, the other automatically changes. That way you’re not stretching out your image, but it will still look right.
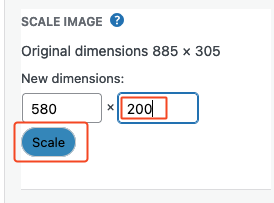
After you have it the size you want, click the Scale button.
When you’re finished, click the Close icon:
![]()