Testimonials can do a lot to add to your credibility when potential investors visit your website.
The Visual Editor makes it very easy to add testimonials with the Testimonial Module.
To add a module you can simply click the blue circle to add a Section. For this tutorial we’ll add a row with a single column, and add the testimonial module to that row. If you have several testimonials, it usually looks best to put them in rows with 2 or 3 columns, and put one testimonial in each column.

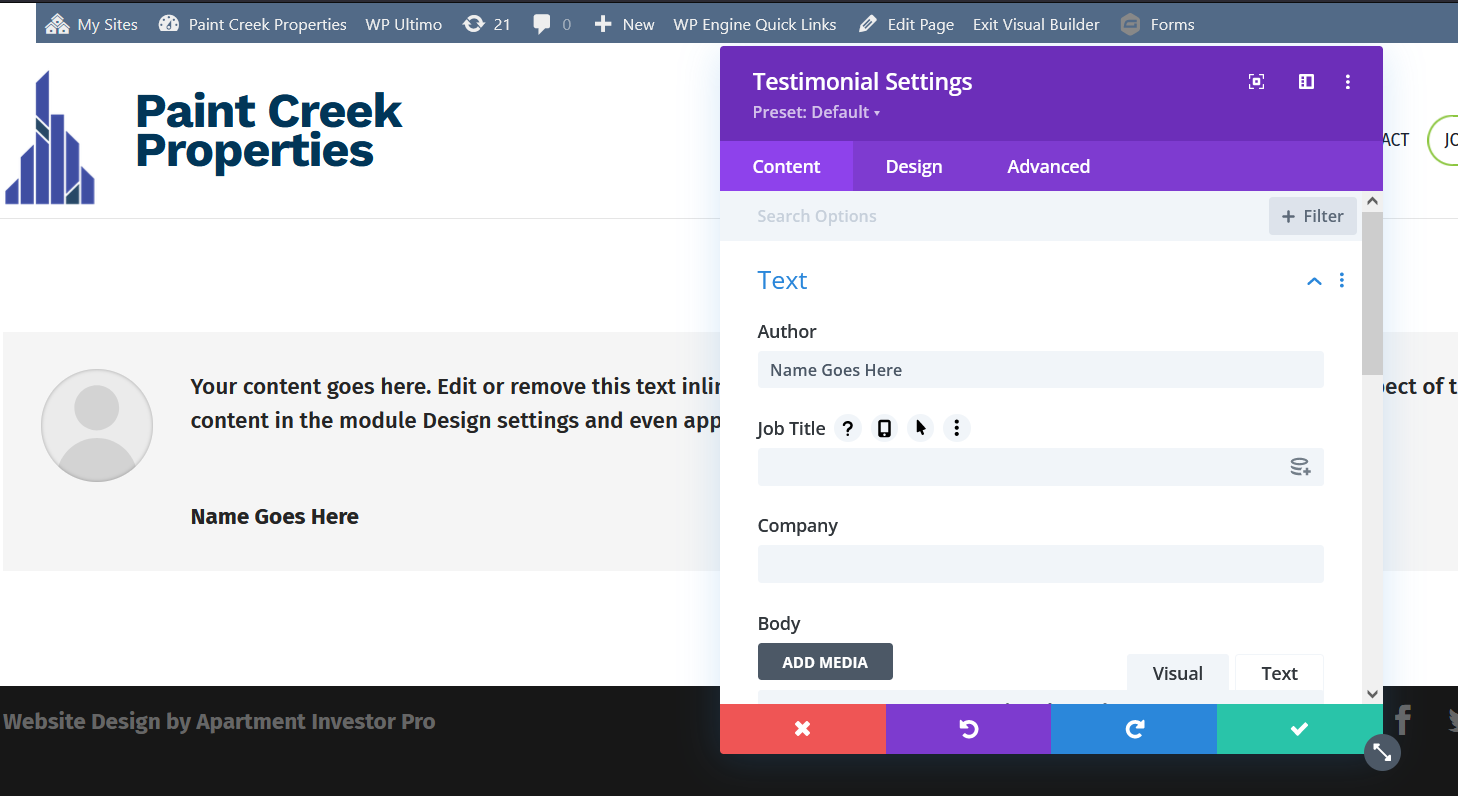
The settings under the Content tab are very similar to the Text Module, with some added fields. These fields are fairly straight forward, and each field has a “?” icon that appears when you hover over the field title. When you click on the “?” it gives you more information about what to do.
Each of the fields is optional, however it’s best to have as much info as possible. Once you fill out the fields the Visual Editor will add styling, and display it on the page.
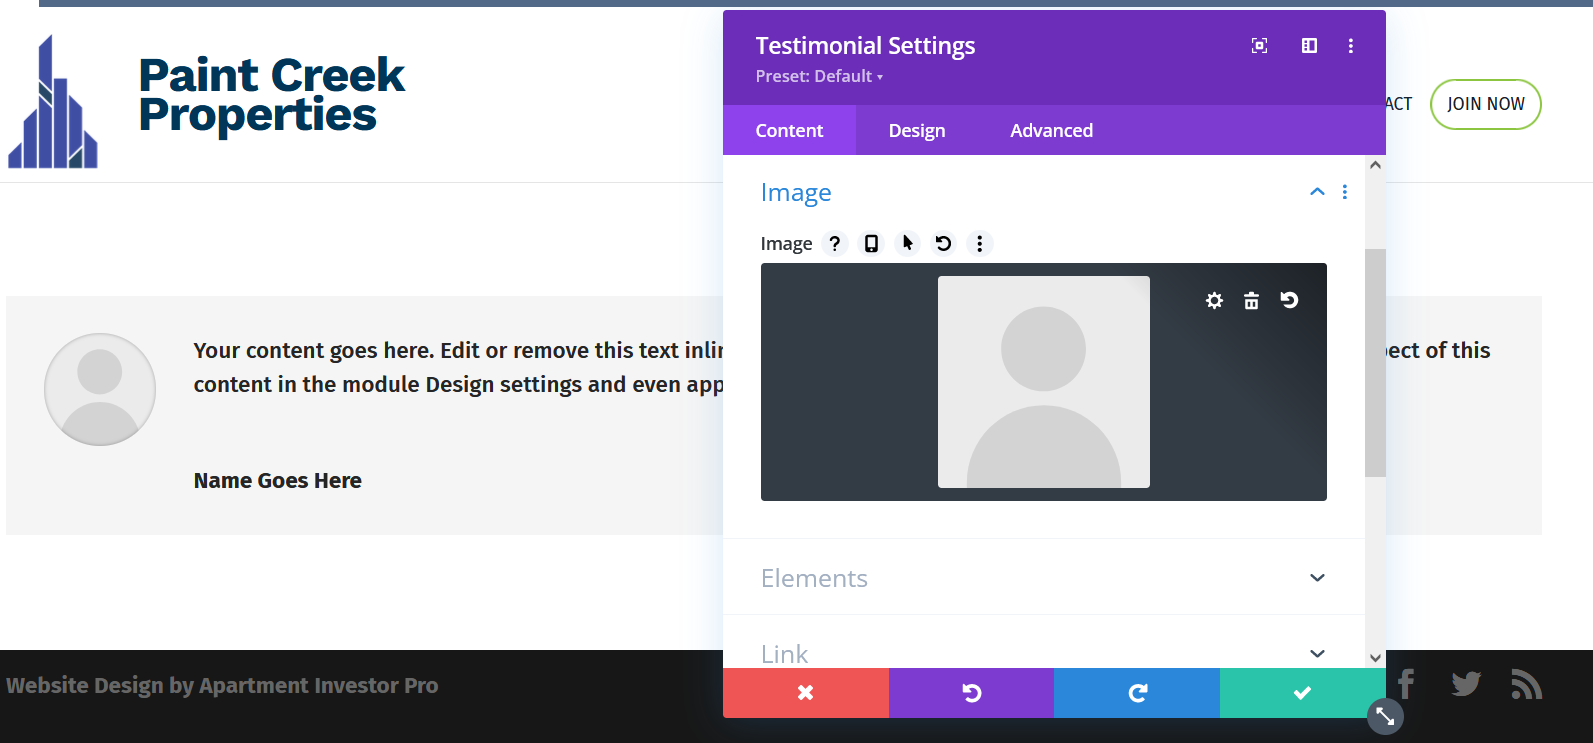
If the person providing you the testimonial has provided you with their picture, you can easily add it by scrolling down to the image tab and adding it from there.

Your content goes here. Edit or remove this text inline or in the module Content settings. You can also style every aspect of this content in the module Design settings and even apply custom CSS to this text in the module Advanced settings.
Another feature is the Elements section. From this section you can choose to display or hide the quote marks.
Now shifting over to the Design tab, this is where the Visual Editor gives you several options to adjust the aesthetics of your testimonials.
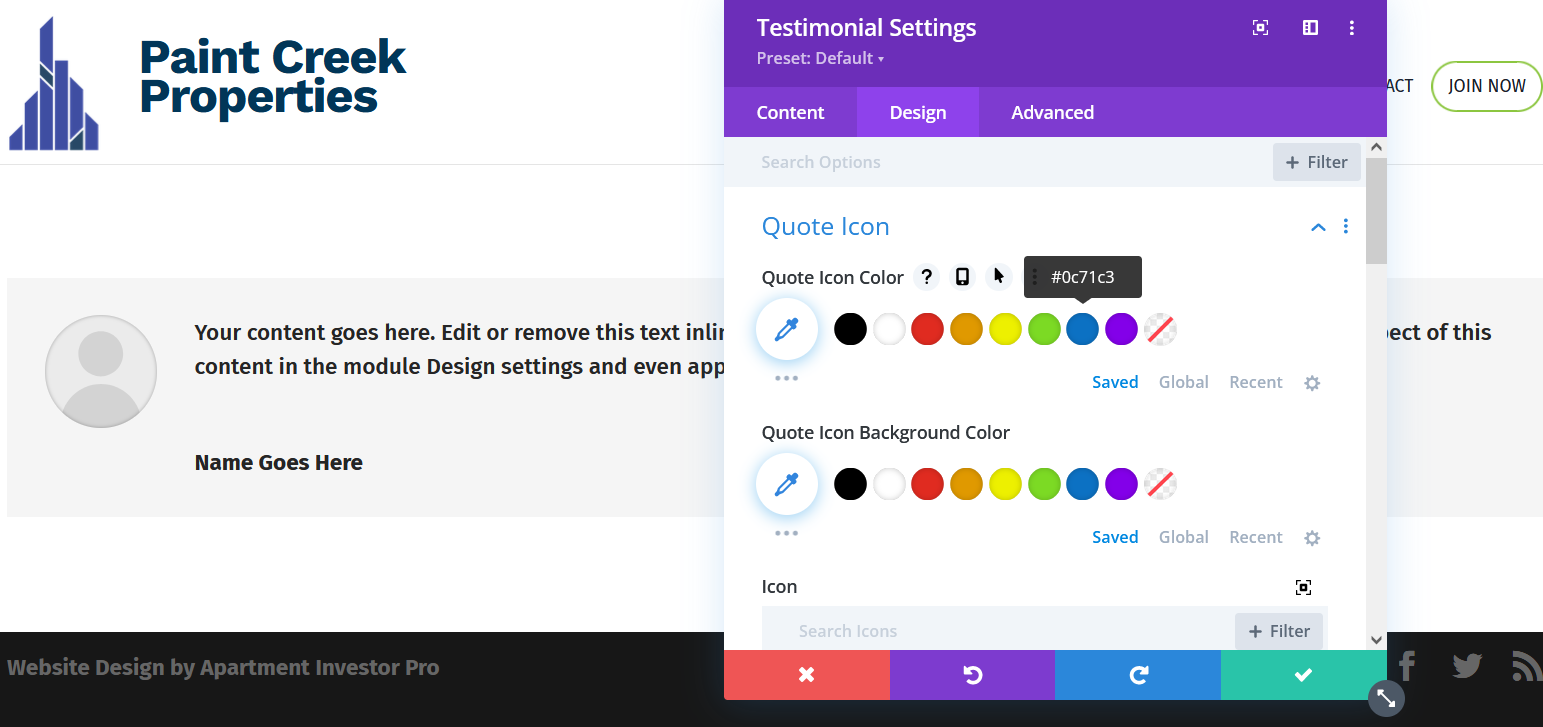
The first tab has to do with the quote marks. If you choose to display the quote marks, this tab allows you to change the color and background color of them.

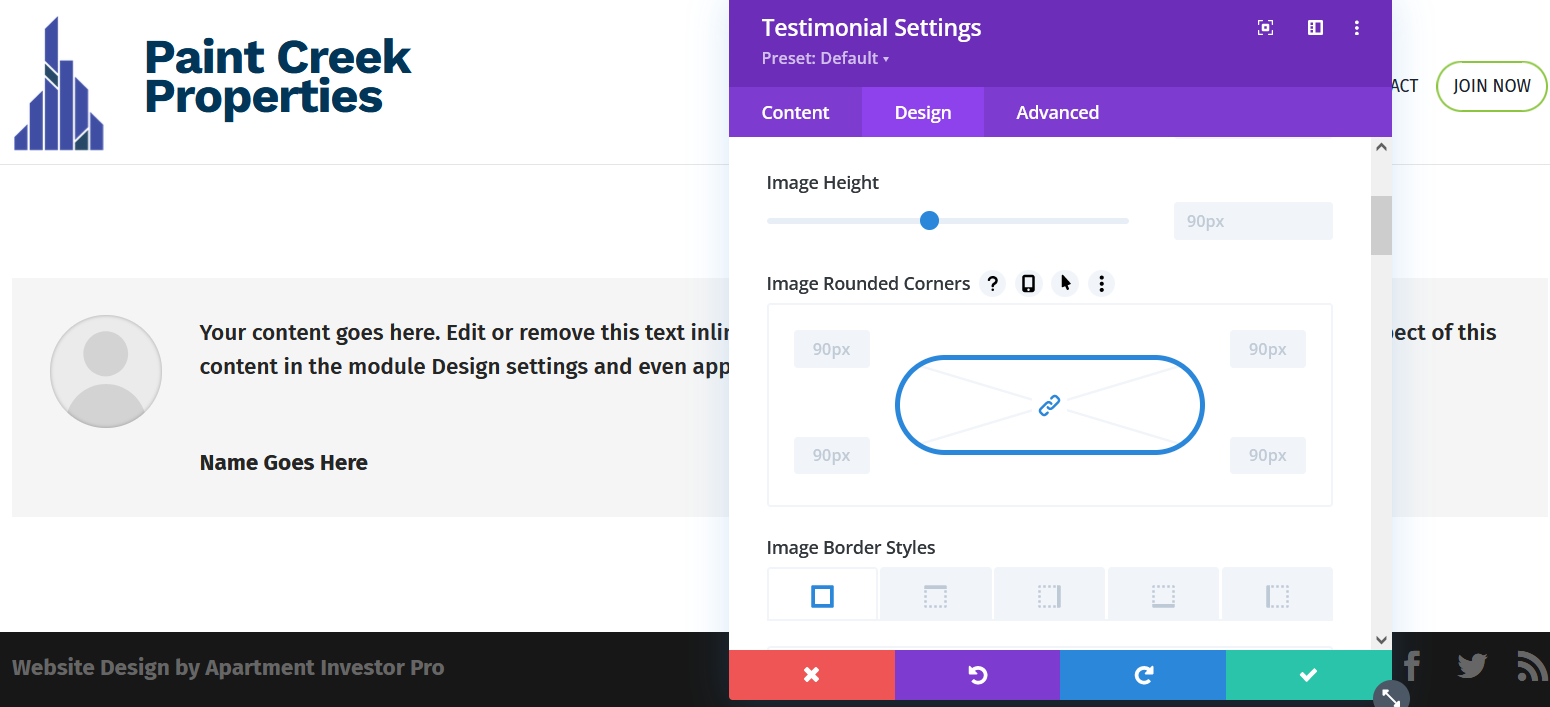
Further down you can change settings for the image. By default the Visual Editor sets the image as a circle. This however can be changed. Under Image Rounded Corners the default is 90px (pixels) that gives it the circular shape. By reducing that number from 90px to lets say 5px you’re given a more boxy shape.

By default the Visual Editor sets the image as a circle. This however can be changed. Under Image Rounded Corners the default is 90px (pixels) that gives it the circular shape. By reducing that number from 90px to lets say 5px you’re given a more boxy shape.
If you scroll down there are several other options for editing the image. If you know a bit about photo editing feel free to play around with these features.
