You may have a link to an external website that you would like to add somewhere on your website and short from simply pasting the link onto your page which could look ugly, you may wonder “How can I add this link to my website?”
This article will show you 4 ways in which you can add custom links to your website. Each way is unique from the other but is quite simple to implement.
The four ways we’ll be discussing are:
IMPORTANT: If you are unfamiliar with how to use the Visual Builder please read the article ‘How to use the Visual Builder‘ first.
1. Adding a Link To Text
The first way we’ll be showing you is how to add a link to text, more commonly referred to as ‘Anchor Text’. Creating achor text is probably the most common way to add a custom link to your website as it’s simple to do and you can use any and as much text as you’d like.
In order to create achor text while using the Visual Builder, Follow these 4 simple steps:
- Click on the Gear Icon of the section of text where you’d like to add the link
- Highlight the word or words you’d like to use by clicking and dragging the mouse.
- Click the Link Icon at the top of the text editor
- Add your link into the field labeled ‘Url’ and click ‘OK’
Read more about the Text Module.
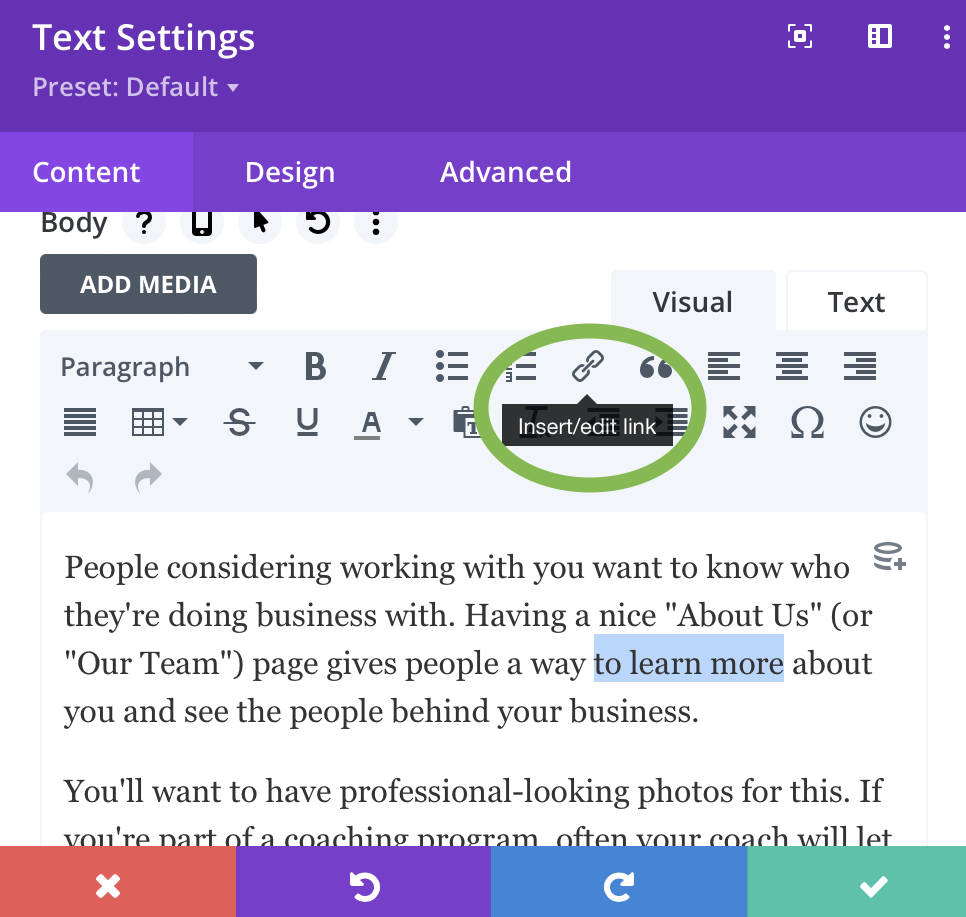
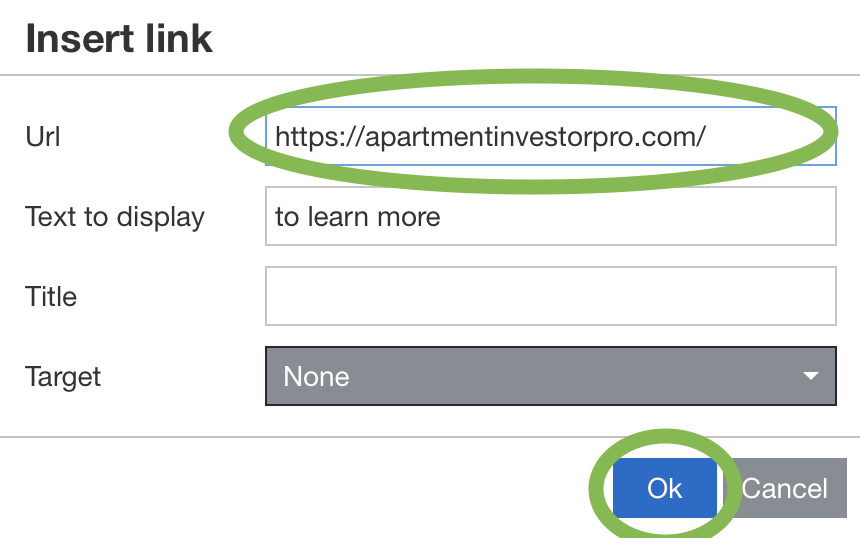
Some Things To Note: Selecting ‘New Window’ in the Target field will open the link in a new browser tab. When adding a link that goes to another website, this is always the best option to choose. If the link goes to another page on your website you can choose ‘None’ which will keep the visitor in the same browser tab.
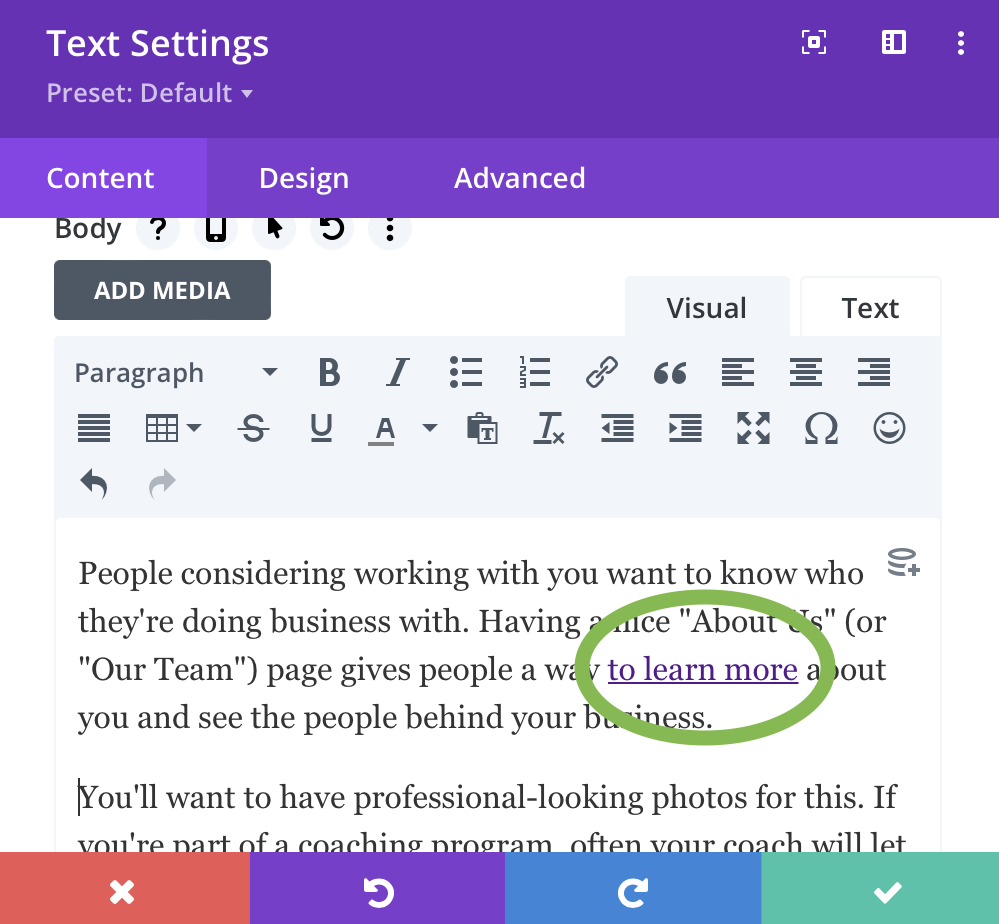
Once you have clicked ‘OK’ the anchor text will now turn blue indicating that the text is a clickable link.
The second way you can add a custom link to your website is by creating a button on your page. Because the Button Module is fairly simple there are less steps you need to take. The steps are as follows:
- Add a Button Module
- Change the text accordingly
- Add your link and save
NOTE: By default the button text will say ‘Click Here’. This can be adjusted to anything you want.
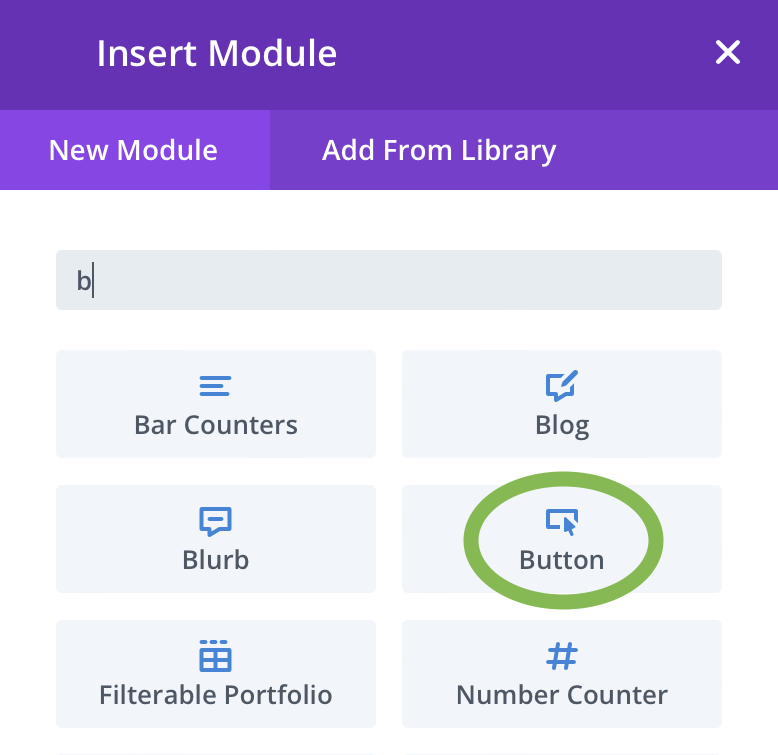
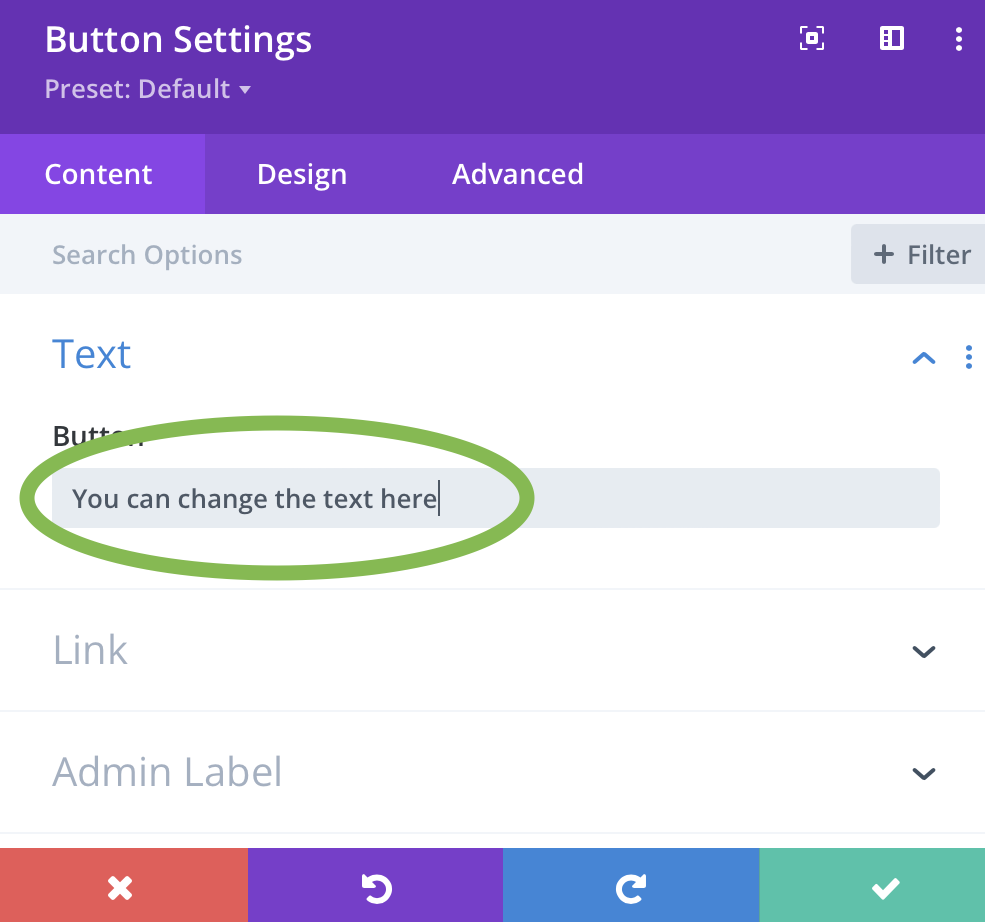
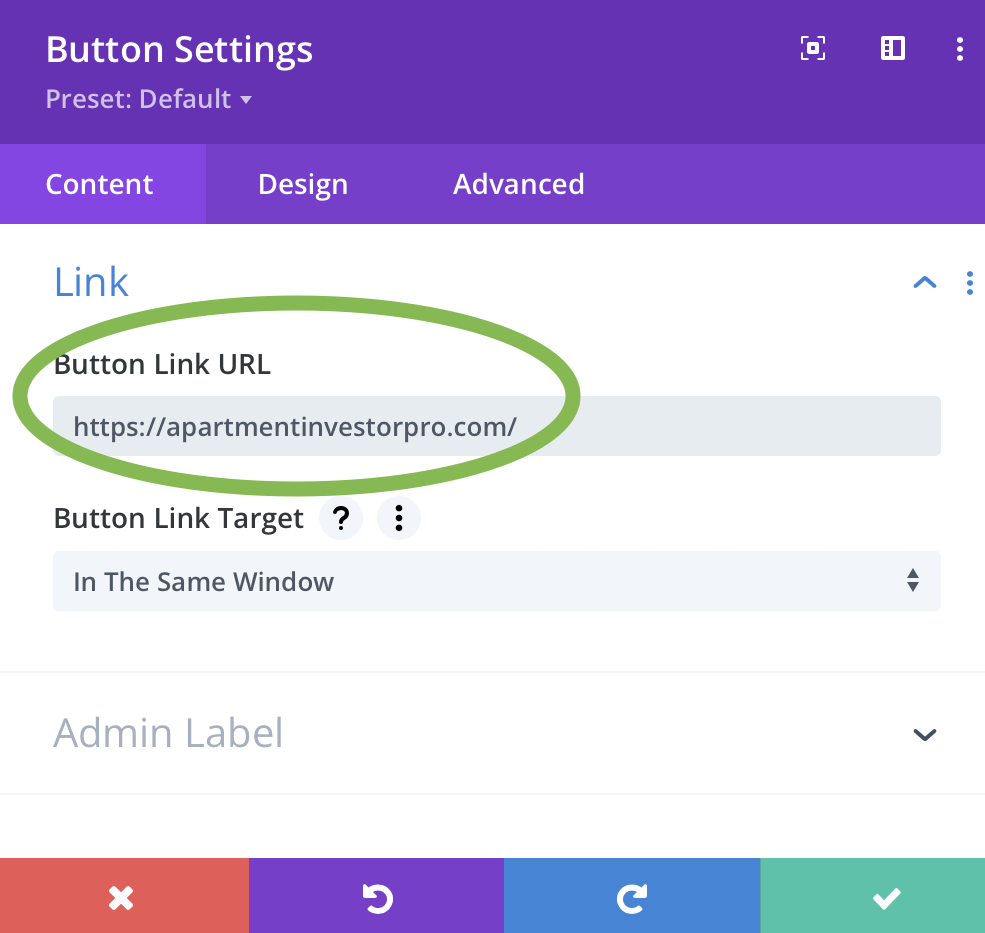
NOTE: You can use the Design tab to adjust the position and color scheme of the button.
3. Creating a Linked Image
The third way while not as common is still worth learning. Just like the previous methods this is very simple to do with the Visual Builder. In fact you can do so in 2 steps.
- Add an image Or find an image on the page you want to use
- Open the settings, scroll down and click the ‘Link’ tab. Add the link there.
Read more about the Image Module.
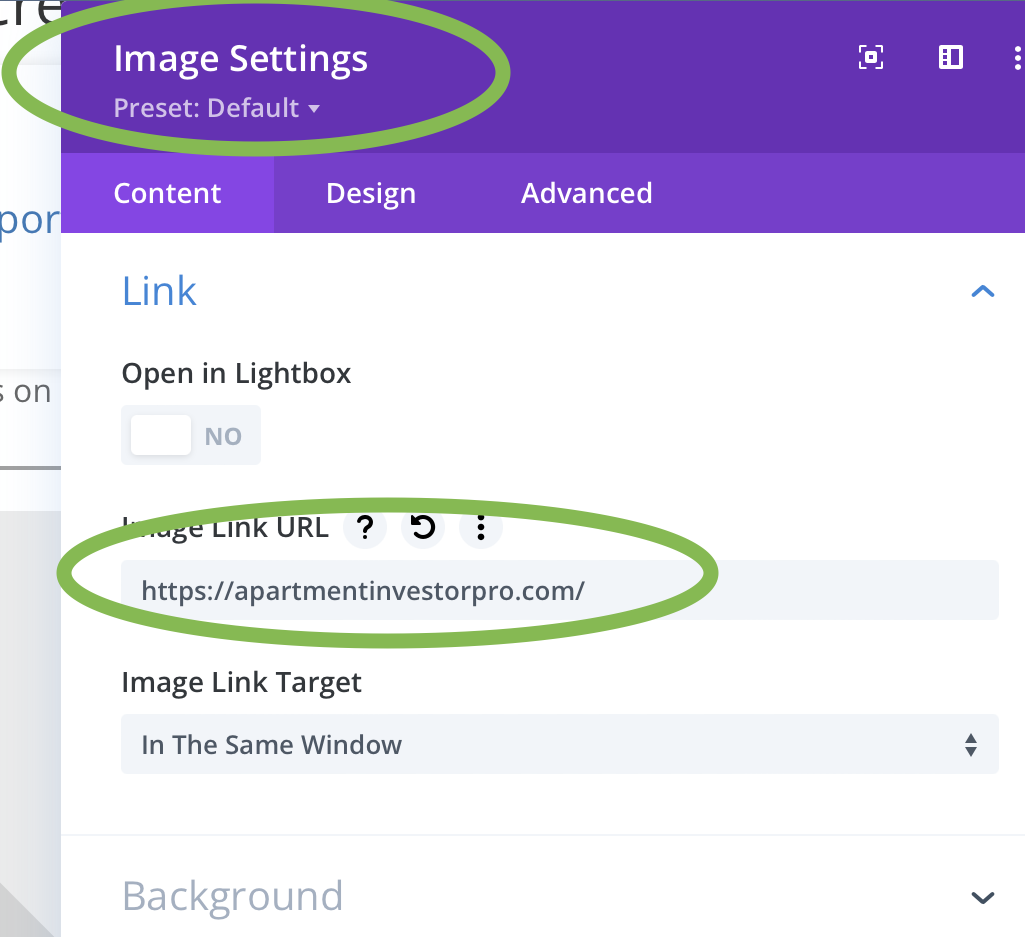
NOTE: Visually the image is not going to look any different after adding the link, unlike text where it will turn blue.
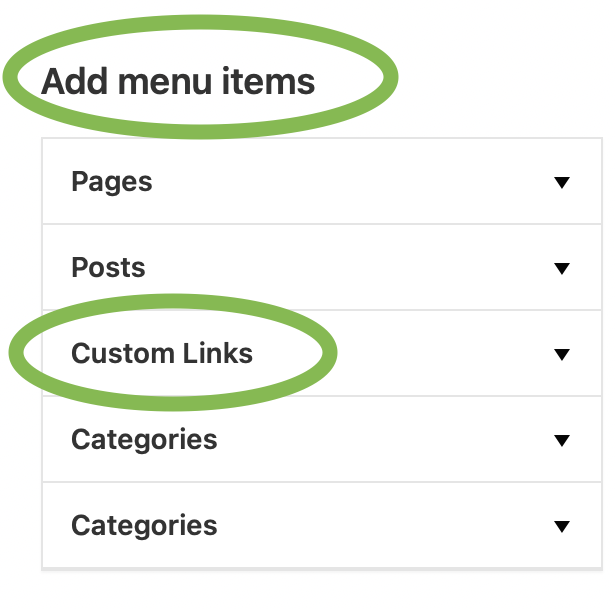
This last optin has a few more steps to complete and has some limitations to it and unlike the other options, you don’t use the Visual Builder. For example, since you are adding a menu item, the link can ONLY be placed within the menu and you cannot easily make the link open in a new browser tab.
Adding a custom menu item can be handy if you are going to link another page or section on your own website.
This can be achieved in 4 steps:
- Navigate to your Dashboard and go to Menus. Dashboard > Appearance > Menus.
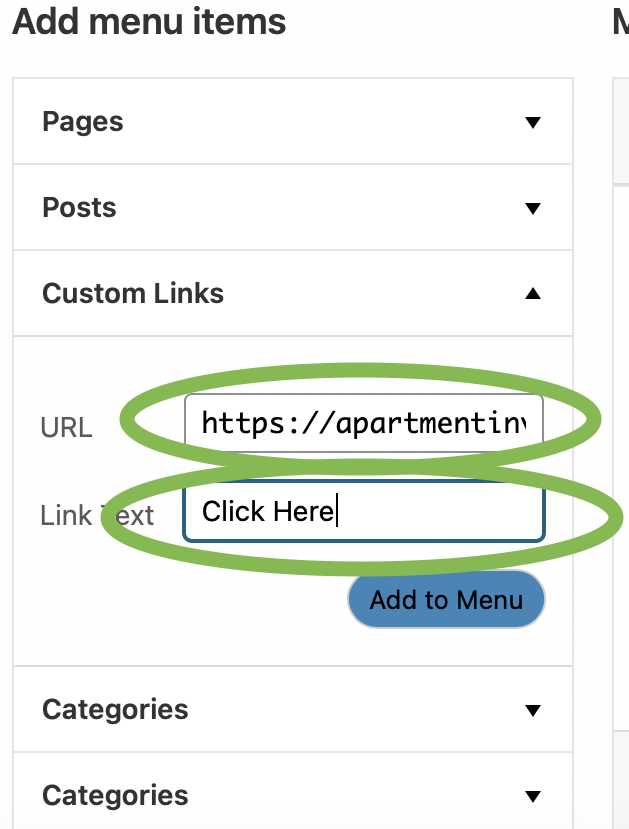
- On the Menu page click ‘Custom Link’ in the left dropdown menu called ‘Add menu items’.
- Add your link to ‘URL’ field and the anchor text in the ‘Link Text’ field.
- Save the menu. Check your home page to make sure the menu item has been added. You may need to refresh the page.
Read more about how to edit your menu

And there you have it, 4 different ways you can easily add a custom link to your website. If you have any problems while trying to add a custom link, feel free to contact support.
